
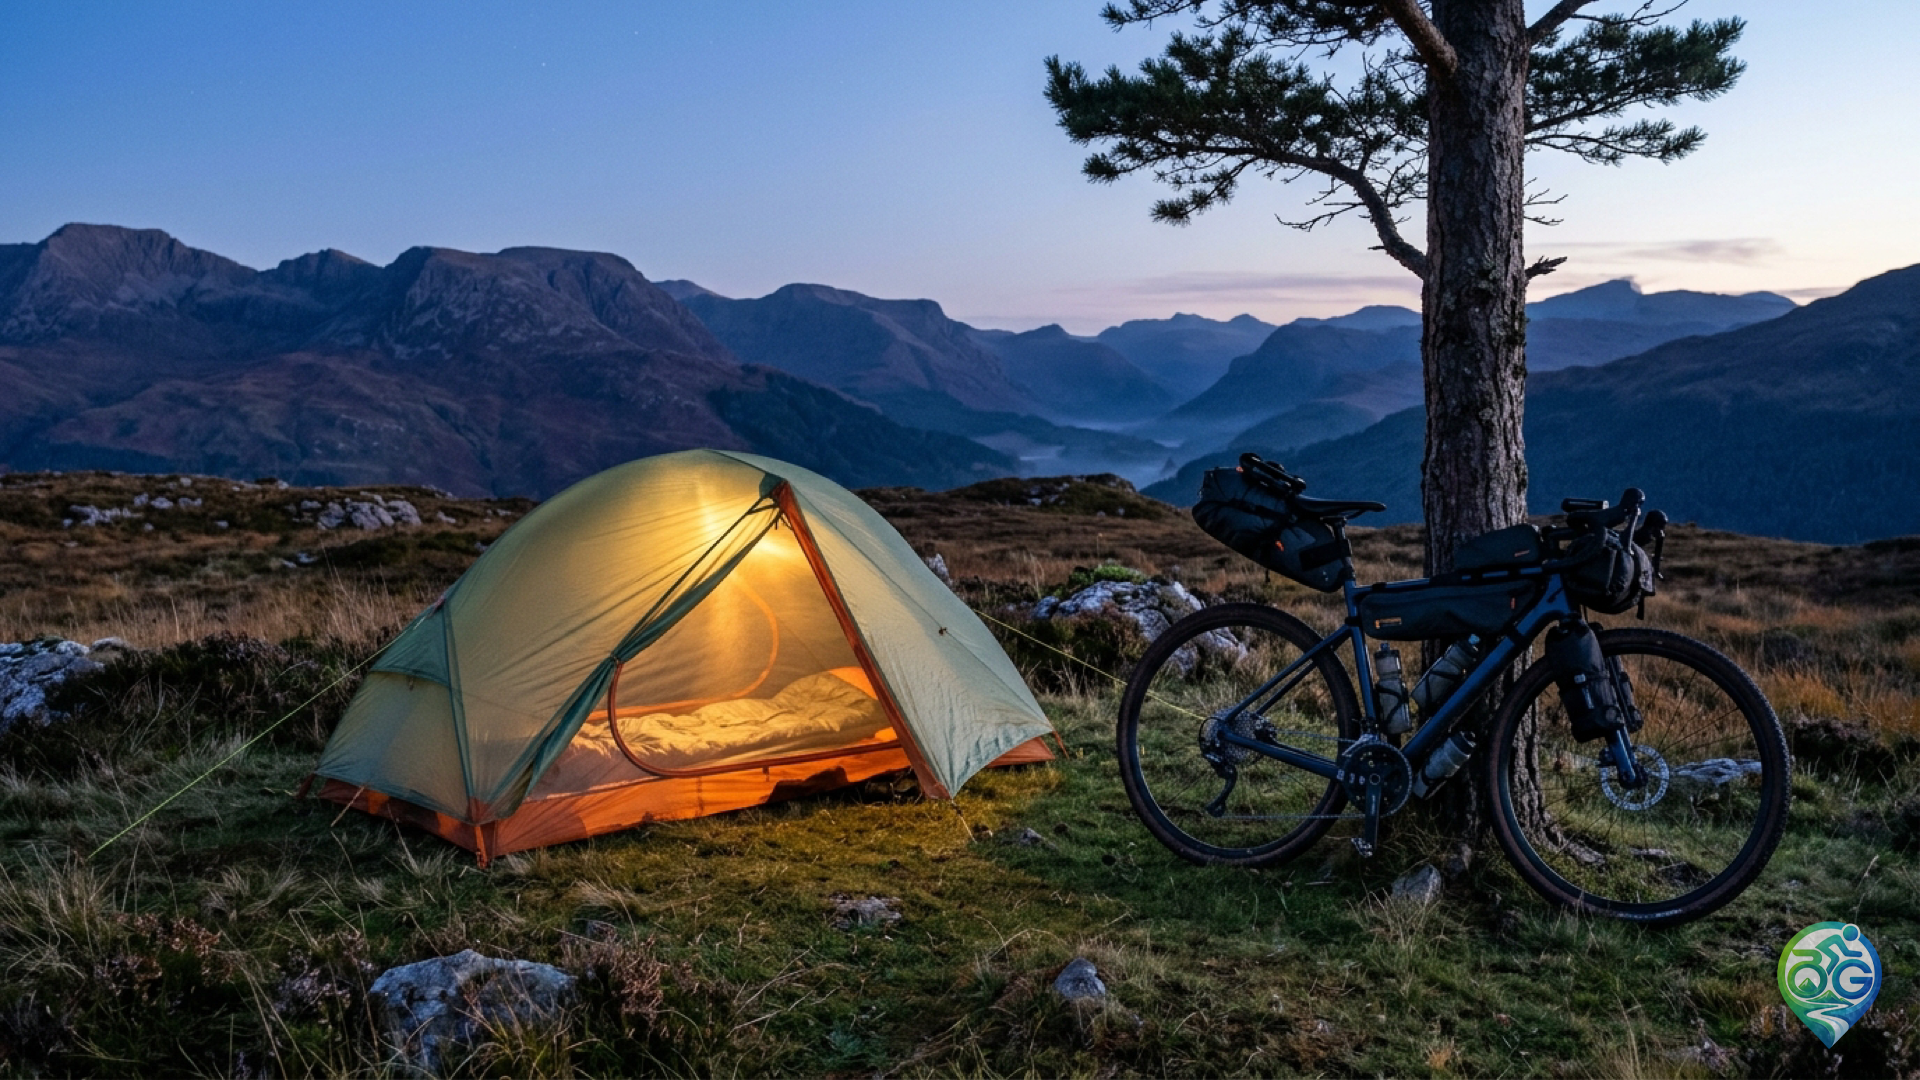
Knowing you possess a weatherproof, comfortable shelter waiting in your bike luggage at the end of a grueling 120-kilometre mountain day provides invaluable peace of mind. However, standard backpacking tents designed for deep cavernous backpacks present awkward packing challenges when mounted onto a bicycle frame. Long aluminum pole segments interfere with drop handlebars, excessive canopy weight destabilizes steering geometry, and cramped vestibules force muddy panniers directly into your sleeping quarters. Reading an authoritative bikepacking tent guide reveals how modern purpose-built shelters overcome these hurdles through specialised dimensions, durable ultralight fabrics, and intelligent storage configurations.
Short pole segment architecture and handlebar packability
The single most defining feature of a dedicated bike shelter is its packed pole dimension. Conventional trekking tents feature pole sections measuring between 45 and 55 centimetres, creating an unyielding cylinder too wide to nestle comfortably between dropped handlebar drops. A dedicated lightweight cycling tent incorporates shorter 30 to 35-centimetre pole segments (often marketed as short-stick or bikepack-specific poles). This shortened profile slots effortlessly into a waterproof handlebar roll or low-slung fork cages without interfering with mechanical shift cables or tyre clearance. Incorporating your shelter seamlessly alongside sleeping bags and cooking stoves through an organized bikepacking gear checklist and shelter protocol maintains an aerodynamic and well-balanced front cockpit. When storing poles inside a frame pack, ensure the ends are padded so they do not abrade internal waterproof fabrics under constant trail vibration.
Freestanding dome architecture versus non-freestanding stakes
Wild bikepacking routes frequently present pitching surfaces where driving aluminum stakes proves impossible, such as rocky alpine ridges, gravel riverbanks, or wooden observation boardwalks. Non-freestanding tunnel tents relying strictly on pegged guylines struggle in these environments. Investing in a self-supporting freestanding bikepack tent allows you to pitch the complete inner canopy and rainfly without driving a single peg into stubborn bedrock. If nighttime wind patterns shift or ground gradient feels uneven, a freestanding structure can be picked up and repositioned in seconds. Furthermore, double-wall mesh architectures provide superior airflow, which is critical for managing tent condensation while bikepacking in high-humidity coastal valleys. Overhead gear lofts and mesh side pockets built into the inner canopy keep headlamps, navigation devices, and charging cables neatly organized off the damp floor.
Vestibule gear capacity, fabric longevity, and field maintenance
When heavy rain hits overnight, spacious vestibules keep damp saddle packs, grimy shoes, and helmets protected outside the dry sleeping chamber without sacrificing interior floor space. Generous vestibule overhangs also permit safe sheltered cooking over a compact stove while maintaining continuous cross-ventilation. When assessing fabrics, look for 15 to 20-denier high-tenacity ripstop nylon for the outer flysheet and a reinforced 30 to 40-denier polyurethane-coated bathtub floor. Pairing your shelter with an ultralight protective footprint shields floor fabrics from sharp thorn punctures and abrasive scree. Once returning home from muddy multi-day expeditions, observing proven guidelines on how to clean and store a tent after bikepacking preserves waterproof seam tapes and polyurethane coatings, while disciplined pre-ride long-distance cycling tour preparation ensures complete resilience in backcountry wilderness. Carrying a lightweight emergency pole splint sleeve and self-adhesive ripstop repair patches lets you mend storm damage instantly far from bike shops.
Discussion & Comments 0
Share your thoughts, gear experiences or ask questions about this guide.
No comments yet.
Be the first to share your thoughts!
Join the Discussion
Log in with your Bisikletli Gezgin mobile account to participate in discussions and track your contributions.