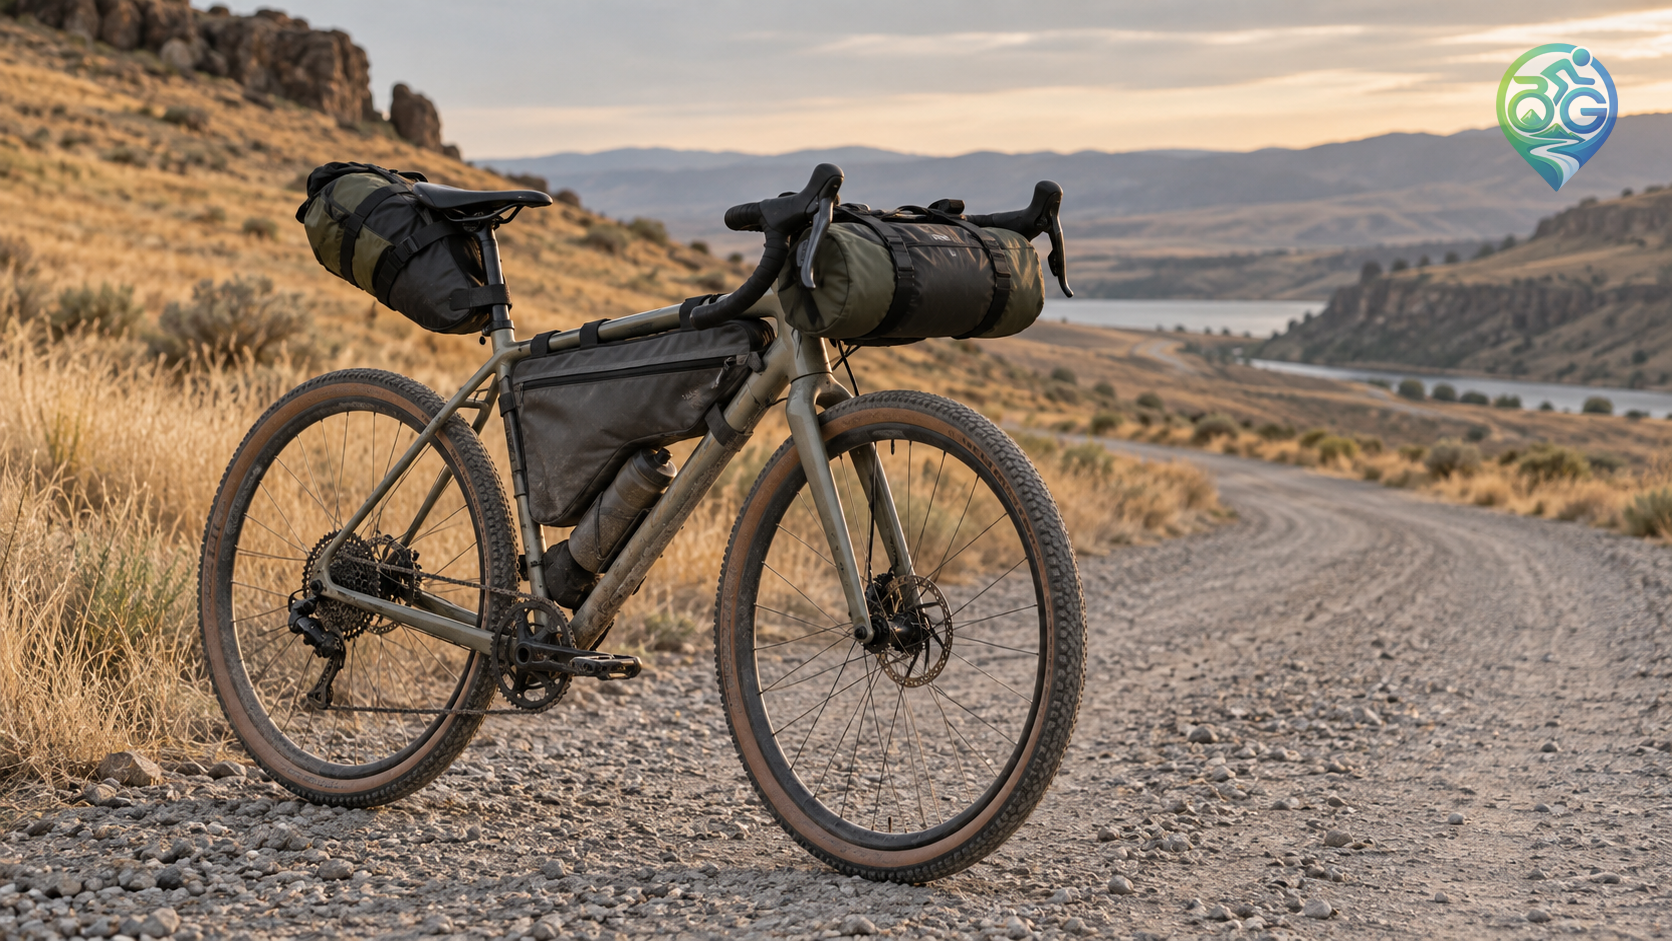
Choosing a bikepacking bag setup is not simply a matter of adding the biggest available volume. Frame, handlebar and saddle bags occupy different parts of the bicycle, and their position changes steering, clearance and how the load feels over rough ground. Start by grouping the equipment you truly need, then give each group a sensible home. A smaller balanced system is often more useful than a large set that is difficult to reach or overloaded at one end.
Give each bag a clear job
A frame bag keeps weight close to the centre of the bicycle and is often useful for dense, elongated items. A handlebar bag can carry bulky but light sleep insulation or clothing, provided it does not restrict cables or steering. A saddle bag suits soft gear, but it needs careful compression and secure attachment to avoid sway. The bikepacking starter guide explains the basic logic of placing equipment on the bicycle before you compare individual models.
Measure the frame before buying
Frame bags are shaped by the actual bike, not just the advertised frame size. Top-tube length, seat-tube angle, bottle mounts and cable routing can all reduce the usable space. A loose bag may rub the paint or move into your knees, while a very full bag can make access frustrating. Check the opening direction, waterproof construction and pedal clearance with the bag fitted, not only in a product photograph.
Handlebar volume changes steering
Putting dense equipment high and forward can alter the steering feel. Keep the handlebar load relatively light and use compressible sleep gear or a jacket rather than heavy tools or liquid. Confirm that the bag does not press brake cables, block the levers or approach the front tire when the bars turn. An outer pocket can be useful for a rain shell or snack. The bikepacking gear checklist helps separate frequently accessed items from gear that can stay packed all day.
Stop a saddle bag from swaying
As a saddle bag grows, so does the leverage behind the seat and the chance of movement. Compress soft clothing and sleep gear instead of filling every last litre. Tighten the attachment points according to the maker’s instructions and check heel clearance before the first long ride. Leave space above the rear tire and any mudguard. If the bag swings when you stand on the pedals, change the packing or support before adding more straps and weight.
Weather protection and access
Water resistance depends on seams, zippers and closures as much as on the fabric. Use dry bags inside the luggage for electronics, sleep gear and spare clothing, so one wet seam does not ruin the whole system. Keep items needed during the day out of the bottom of a fully sealed bag. The cycling in the rain guide adds the clothing and visibility side of riding in wet conditions.
Test the loaded bicycle
Before a multi-day trip, load the bags with approximate weight and ride a short loop. If the front feels heavy, the rear bag sways or a frame bag touches your knees, adjust the distribution rather than immediately buying more capacity. The long-distance cycling preparation guide connects comfort with the route, load and distance you expect to cover. The best setup is the one that carries the actual kit securely while remaining easy to reach and pleasant to ride.