
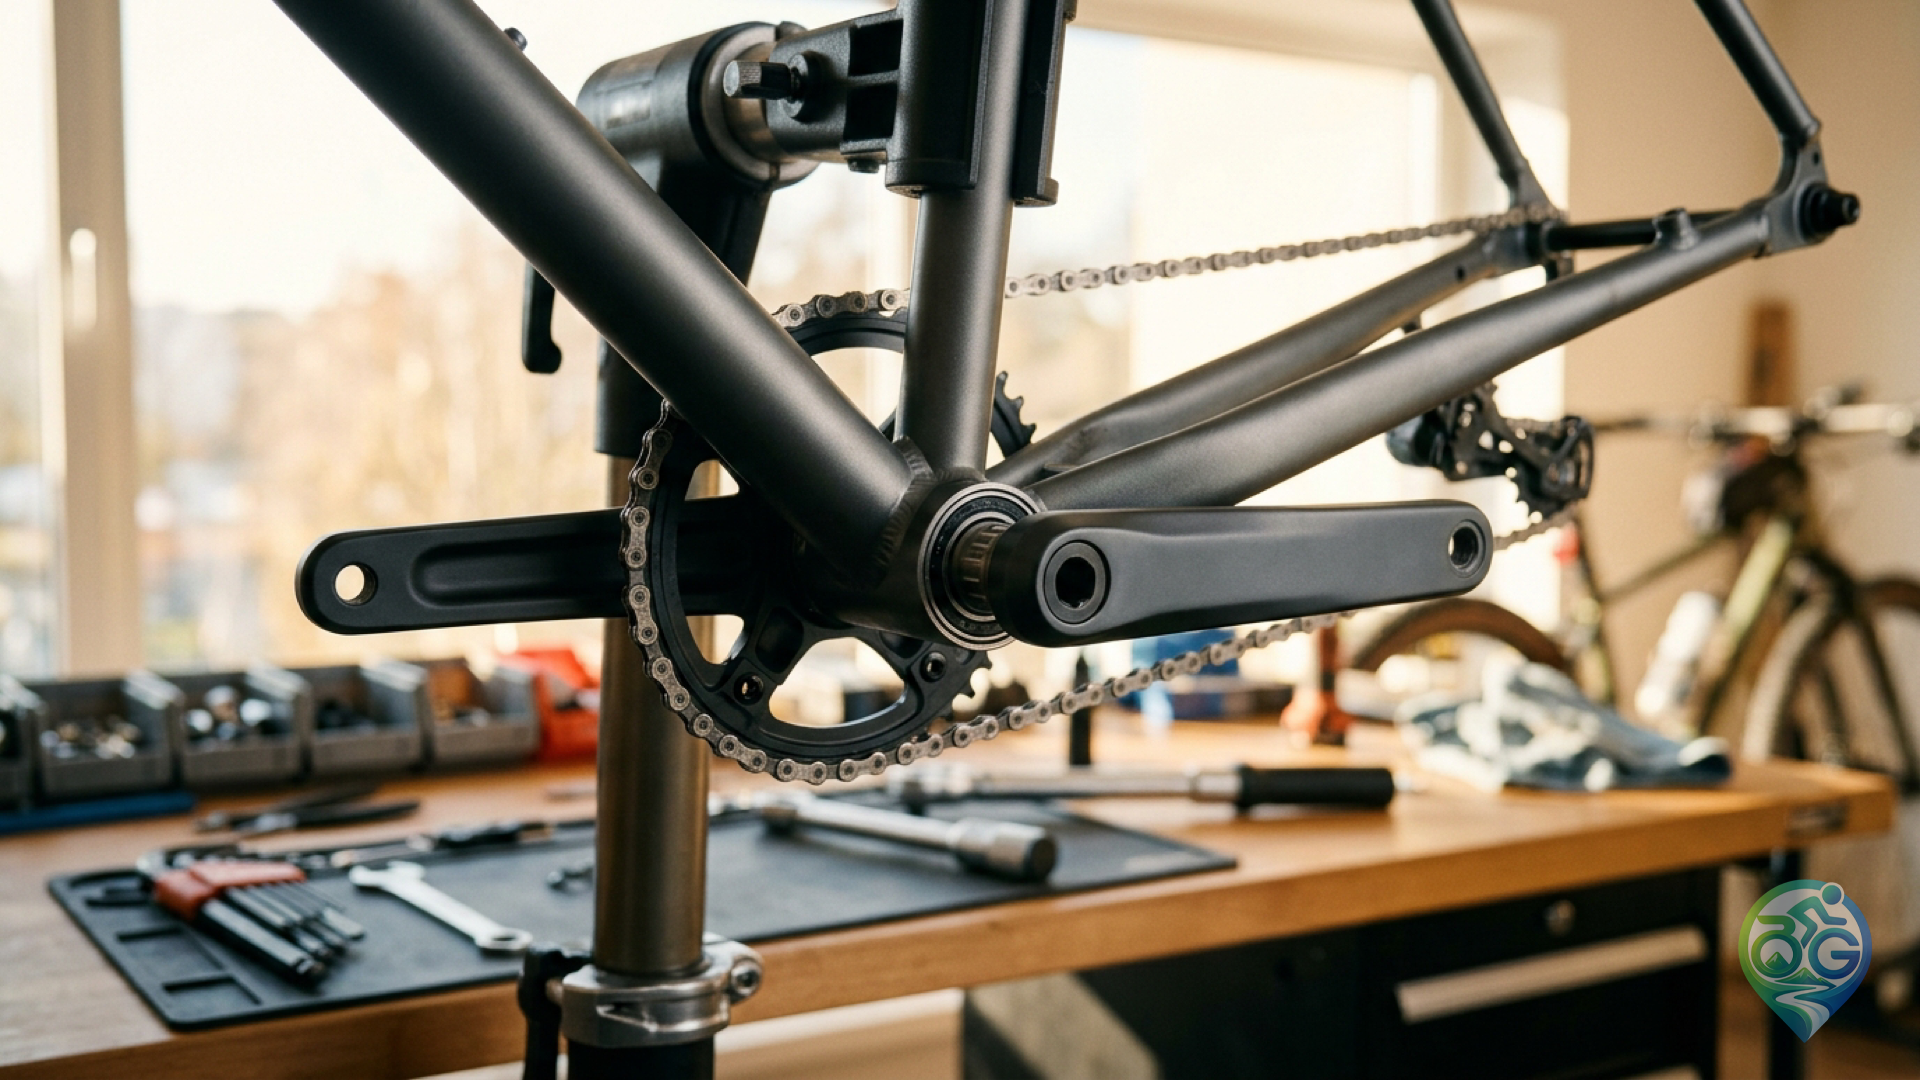
Few mechanical nuisances frustrate a cyclist quite like a persistent, rhythmic click or creak coming from the drivetrain under load. Whether you are grinding up steep double-digit alpine gradients or cruising on a multi-day bikepacking expedition, noises originating from the crankset area often seem impossible to pinpoint. While riders instinctively blame the bottom bracket, these annoying sounds frequently stem from loose pedal threads, dry chainring bolts, or misaligned crankarms rather than terminal bearing failure. Just as pacing efficiency requires mindful cadence and effort management, keeping your bottom bracket and crank assembly in silent mechanical tune ensures smooth power transfer on demanding journeys.
1. Testing for Bottom Bracket Bearing Play
Checking for lateral play in your bottom bracket is a straightforward tactile test that requires no disassembly. Secure your bicycle on a stable workstand or upright on level ground. Rotate one of the crankarms until it points straight down to the 6 o'clock position. Grip the chainstay or seat tube firmly with one hand to stabilize the frame, while grabbing the end of the crankarm with your other hand. Apply firm inward and outward lateral force perpendicular to the bike centerline.
Repeat the exact test on the non-drive crankarm. If you detect any faint metallic knocking, play, or deflection at the spindle, either your cartridge bearings have developed internal wear or your crank preload adjustment has backed off. To develop a complete diagnostic feel across your bike's rolling components, compare this sensation with how to check bicycle hub bearing play on wheel axles.
2. Isolating Creaks: Pedals, Chainrings, or Bearings?
Because hollow carbon and aluminum frame tubes amplify acoustic vibrations like musical instruments, localized creaks can deceive even experienced mechanics. Before condemning your bottom bracket, isolate the most common culprits methodically:
- The Out-of-Saddle Test: Stand up on the pedals on a gentle incline. If the rhythmic creak vanishes instantly when your weight leaves the saddle, the noise is coming from dirty seat rail clamps or a dry seatpost collar rather than the drivetrain.
- Pedal Spindles and Threads: Pedals endure massive leverage during high-torque strokes. Dry or slightly under-torqued threads click loudly under load. Remove both pedals, thoroughly degrease the threads, and apply fresh waterproof grease according to the guidelines in our how to choose bicycle pedals and installation guide.
- Chainring Bolts: On 2x or 3x drivetrains, loose chainring torx or hex bolts flex under pedal pressure, creating metallic clicks that perfectly synchronize with crank rotation.
3. Adjusting Preload and Servicing Bottom Brackets
If play or grinding is isolated directly to the bottom bracket assembly, service steps depend on your shell interface:
- Threaded Outboard Cups (BSA / Hollowtech II): On two-piece cranksets, loosen the two pinch bolts on the non-drive crankarm. Hand-tighten the central preload adjustment cap until all lateral play is eliminated without adding rotational drag (approx. 1 to 1.5 Nm). Once adjusted, tighten the pinch bolts alternately in increments to manufacturer specifications (typically 12–14 Nm). Never guess torque on crank retention bolts; always rely on how to use a bike torque wrench to prevent spindle damage or dangerous arm detachment.
- PressFit Systems (PF30, BB86/92): Creaking in pressfit bottom brackets predominantly arises from microscopic movement between the composite or aluminum cup and the frame shell. Rectifying this requires extracting the cups, cleaning the shell with isopropyl alcohol, applying retaining compound or specialized paste, and pressing the bearings back in with a dedicated press tool.
4. When Is Replacement Non-Negotiable?
Drop the chain off the front chainrings onto the frame shell so the crank spins without drivetrain friction. Spin the crank gently by hand and rest your fingertips on the crankarm. If the rotation feels gritty, notched, or generates a dry rumbling sensation through your fingers, the sealed cartridge bearings have suffered water ingress, contamination, or ball pitting. A bottom bracket that retains lateral play even after correct preload adjustment, or one that binds under hand rotation, must be replaced promptly. Performing this check before embarking on remote tours safeguards against catastrophic drivetrain seizure in isolated backcountry routes.
Discussion & Comments 0
Share your thoughts, gear experiences or ask questions about this guide.
No comments yet.
Be the first to share your thoughts!
Join the Discussion
Log in with your Bisikletli Gezgin mobile account to participate in discussions and track your contributions.