A first aid kit for bike touring should be compact, dry and easy to reach—not a portable clinic. Its job is to help with minor cuts, scrapes, blisters or a simple piece of discomfort while you decide what to do next. Serious injuries require professional help, and no pouch changes that boundary. Good preparation therefore combines a sensible selection of basic supplies with route information, a charged phone and the willingness to stop or turn back.
Match the kit to the route
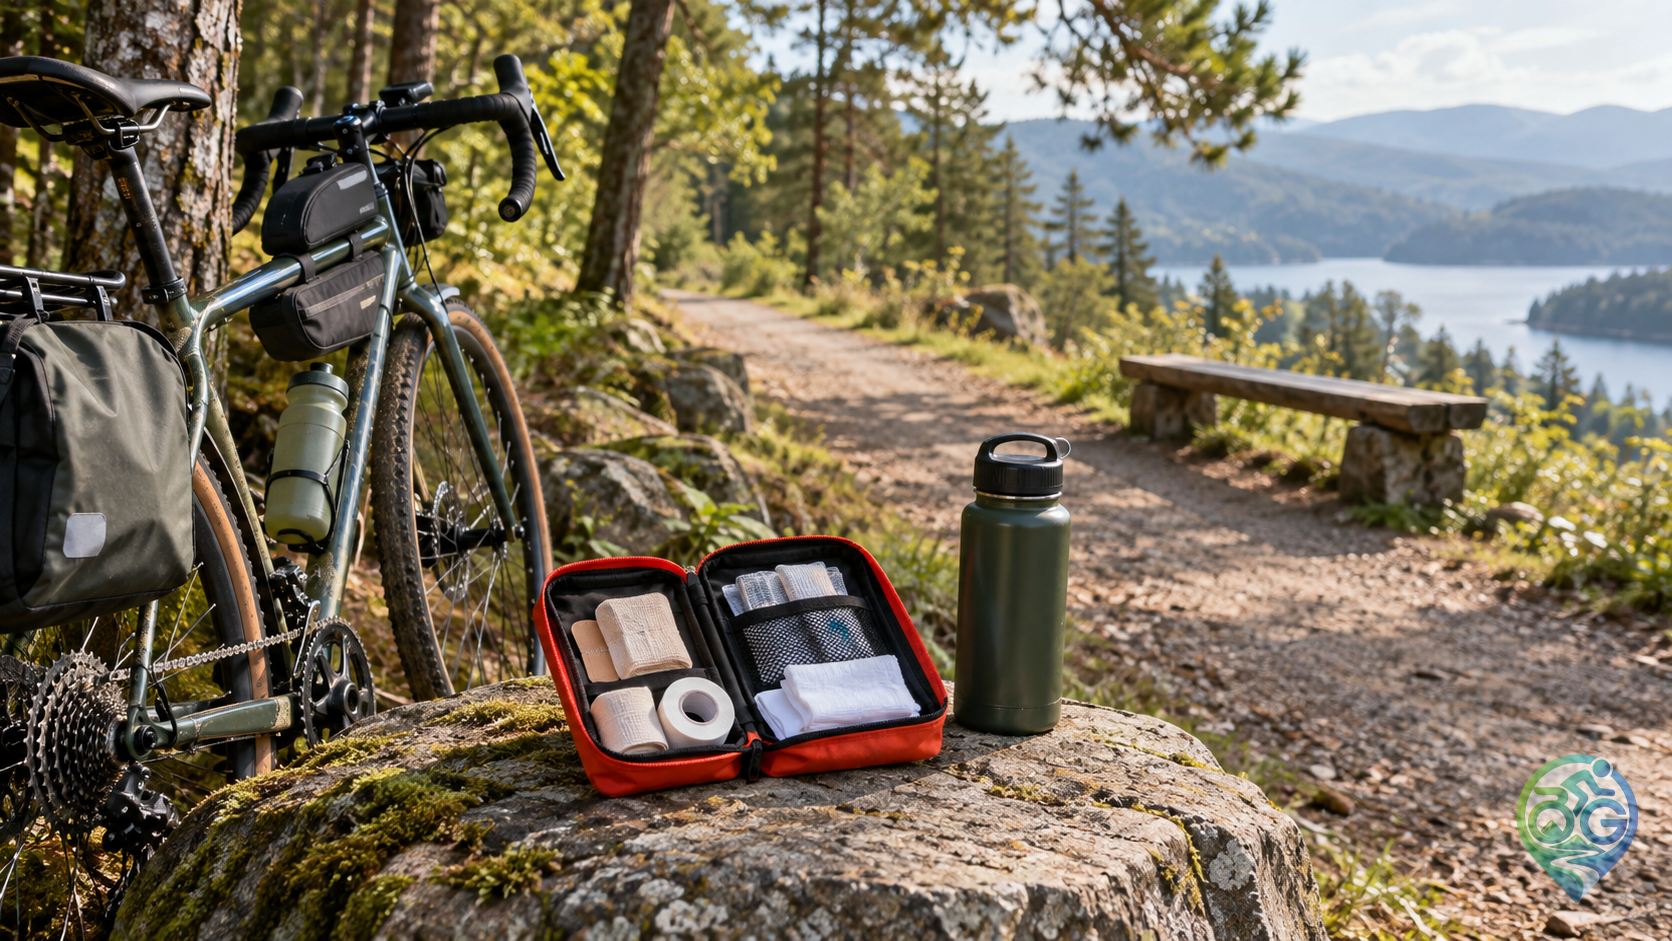
A short ride close to town and a multi-day trip far from services do not need exactly the same level of preparation. Start with the people riding, the remoteness of the route and the weather. A basic kit might include assorted plasters, sterile gauze, medical tape, antiseptic wipes and disposable gloves in sealed packaging. Carry personal medication only as prescribed for you, and do not share or improvise medication for another rider. The long-distance cycling preparation guide helps place these choices inside a realistic trip plan.
Plan for friction and blisters
Hands, feet and contact points can become sore gradually, then make the next hour much harder. Suitable blister or protective tape, spare socks and a way to keep the affected area dry can help when used early. Do not simply cover increasing pain and continue at the same pace. Stop, inspect the contact point, adjust the fit or clothing and decide whether the route still makes sense. Prevention through small breaks is often more useful than carrying a large collection of products.
Keep minor wound supplies clean
Separate clean dressings from used items and keep the pouch dry. Gauze, tape and wipes should be reachable without emptying the whole luggage, while less frequently used pieces can stay in a secondary pocket. Clean your hands before touching a wound and do not return an opened or dirty item to the clean section. If bleeding does not stop, the wound is deep or the rider may have a serious injury, move to a safe place and contact emergency services rather than trying to solve it with a small kit.
Adapt for weather and darkness
Rain, cold and fading light change how easy it is to stop safely. A waterproof inner pouch, a small light and visible clothing are not first aid supplies in themselves, but they can make a roadside pause safer and help you be found. The cycling in the rain guide covers visibility and clothing decisions for wet conditions. Store the kit where it is protected from crushing but can be reached before the entire bike is unpacked.
Separate health and repair equipment
Tire levers, patches and a pump solve bicycle problems; they do not replace wound supplies. Keep repair tools and first aid items in separate pouches so that dirt and chain residue do not reach clean dressings. The bikepacking gear checklist helps organise health, repair, water and camp equipment as distinct jobs within one luggage system.
Check the pouch before leaving
Replace opened, dirty or expired items and confirm that the case still closes securely. Check glove fit, tape adhesion and the waterproof layer at home rather than discovering a problem at a roadside stop. Water planning and phone battery matter just as much for a safe response; the water planning guide covers the route-side supply part of the same preparation. Being prepared does not mean handling every incident alone. It means staying calm for small problems and reaching the right help quickly when the situation is beyond your kit.