
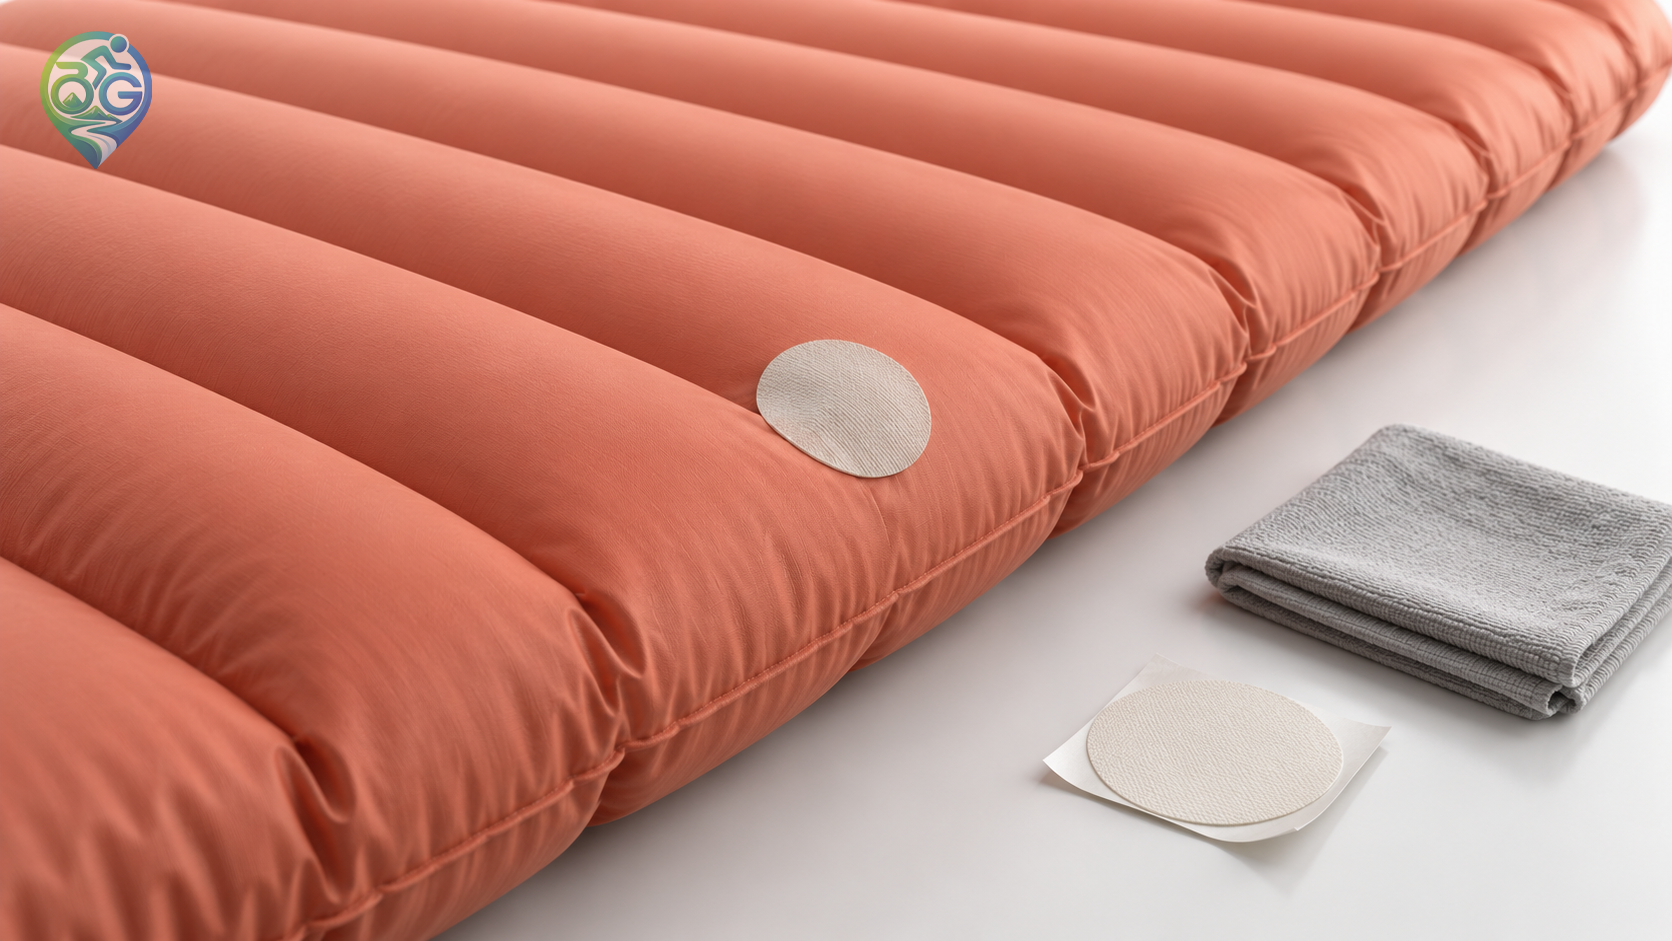
The waiting time is part of a sleeping-pad repair. Before a bikepacking trip, work out whether the kit you carry provides an immediate field fix or uses an adhesive that must cure. A sleeping pad leak is easier to deal with when you can identify both the fault and the repair system you have brought. A pouch labelled repair kit does not, by itself, explain which fabric it suits or when the pad can be used again.
Separate a field fix from a repair that needs time
In its Therm-a-Rest repair guidance, Cascade Designs distinguishes the no-cure Instant Field kit from the Permanent Home kit, whose adhesive needs four hours under a weighted press. The same page notes that some pad models may need an overnight wait. These are instructions for the named systems, not a universal timetable. Find the current directions for your kit and pad, and arrange the repair around them.
Include the complete, compatible kit in your bikepacking equipment plan. Keep its instructions available without a connection. Discovering that an adhesive needs a different application method at bedtime leaves little room to change your plans. At home, allow time to inspect, prepare, repair and check the result before the departure date.
Establish whether air is escaping
Cascade Designs' leak-finding explanation notes that cooling air can reduce pressure inside a pad. A slight change in firmness and a pad repeatedly collapsing are different observations. Record what happens and check that the valve is closed according to its instructions. Cooling is a possible explanation, rather than permission to ignore unresolved loss of support.
Identify the pad model and valve type, then compare them with the repair materials you own. The separate sleeping-pad selection guide covers insulation and packing choices. Here, the question is whether the existing pad holds air. Locating the problem gives you a more useful basis for deciding what to do than immediately ordering a replacement.
Keep track of every confirmed leak
Sea to Summit's procedure uses a film of soapy water to reveal bubbles, marks the escaping-air points and checks both sides. Use only a test allowed by your own pad's instructions. At home, contain the water and work on a clean surface. Finding one hole does not establish that the rest of the pad is sound.
Record the location before drying and deflating the pad. A photograph showing which side and section you inspected can be more useful than an isolated close-up of fabric. Check which marking and cleaning materials are suitable for the surface. Air escaping around a valve needs the model's valve guidance; do not treat every source of bubbles as a puncture in the body fabric.
Match the preparation to the material
Sea to Summit specifies a deflated mat and a clean, dry surface without soap residue before patching. Its directions also distinguish air-cell pads from self-inflating models. Follow the method for the actual model and fabric you have, including the specified patch and adhesive. The inner-tube puncture procedure addresses a different item; it should not become an automatic repair recipe for a sleeping pad.
Lay out the materials before starting so that the correct pieces are identifiable. Avoid adding a cleaning product or substitute adhesive simply because it is already in the bicycle tool roll. If the instructions do not clearly cover the damaged area, ask the manufacturer rather than guessing. Keep the model details and clear photographs with that enquiry.
Check the outcome before committing to a night out
After the specified waiting period, retest the pad. Repeated air loss deserves another assessment rather than progressively stacking patches over an unexplained fault. Cascade Designs says in its seam-failure guidance that lasting repairs can require specialist equipment. Treat a failed join as a service question, not as proof that a larger surface patch will solve it.
Allow for drying too. Sea to Summit's care instructions require complete drying before long-term storage. Do not leave a damp pad forgotten in a closed bag after testing. For the trip itself, keep the appropriate kit accessible and decide on a usable alternative sleeping arrangement if the pad's ability to hold air remains unresolved.

Discussion & Comments 0
Share your thoughts, gear experiences or ask questions about this guide.
No comments yet.
Be the first to share your thoughts!
Join the Discussion
Log in with your Bisikletli Gezgin mobile account to participate in discussions and track your contributions.