A flat tire is one of the most common mechanical disruptions any cyclist encounters. While carrying a spare inner tube offers a rapid roadside remedy, knowing how to properly patch a punctured tube is an essential skill that saves money and ensures you are never stranded on extended adventures. When applied with correct technique, a cold vulcanizing patch creates a chemical bond that is just as durable as the original tube wall.
Essential Tools and Work Area Setup
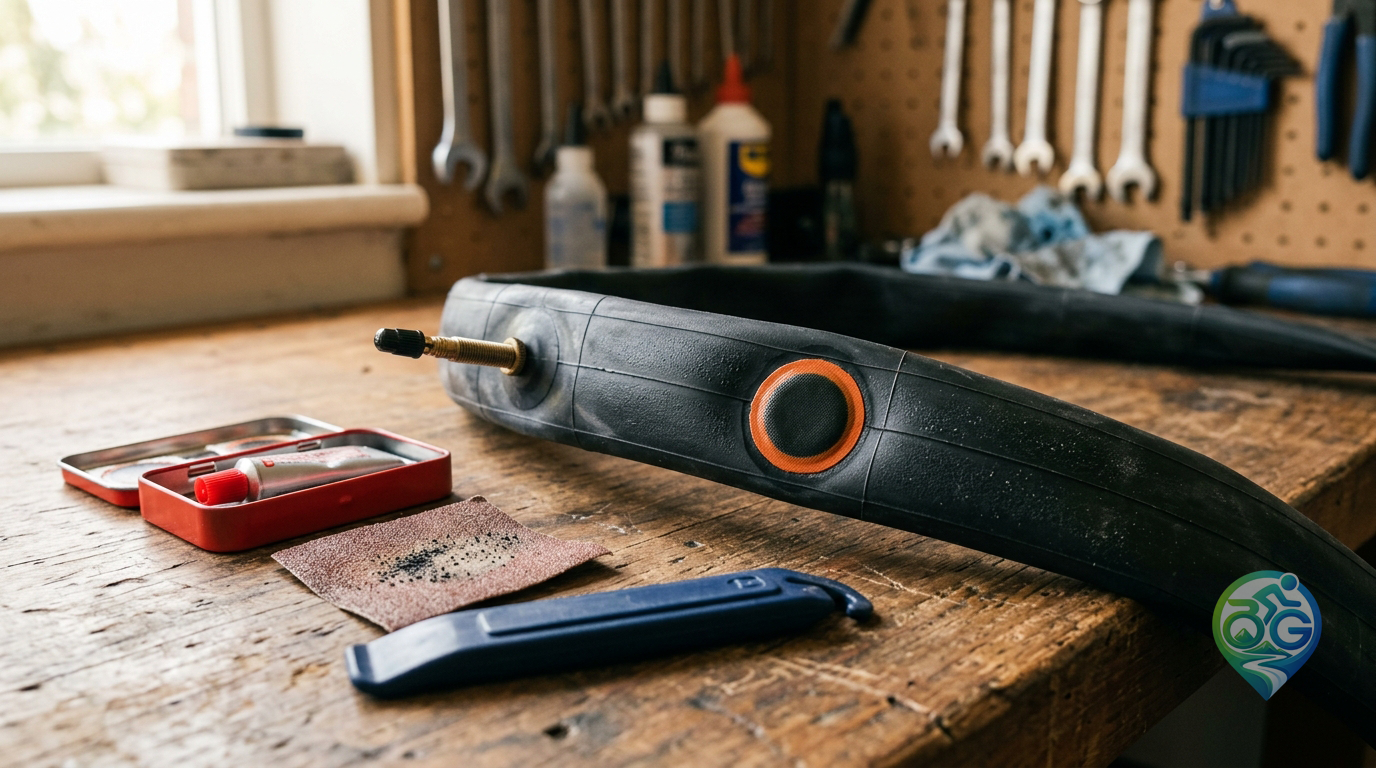
Before beginning the repair, gather the required equipment. A standard bicycle puncture kit contains sandpaper or a metal rasp, a tube of vulcanizing fluid, and feathered-edge rubber patches. To remove the tire smoothly, you need sturdy tire levers, and an efficient hand or floor pump as outlined in our bicycle pump buying guide to re-inflate the tube once the repair is complete.
After removing the wheel from your frame, unthread the valve cap and knurled locknut. Use tire levers to disengage one side of the tire bead from the rim flange, then carefully slide the inner tube out. Inspect the casing thoroughly: run a cotton rag or carefully use your fingertips along the inner carcass of the tire to locate the embedded wire, thorn, or shard of glass that caused the puncture. If the sharp debris remains lodged in the tread, your freshly repaired tube will puncture immediately.
Locating the Leak and Surface Abrasion
Pump a small amount of air into the tube to expand it. Listen closely for the hissing sound of escaping air, or pass the tube near your cheek to detect the breeze. If the hole is microscopic, submerge sections of the inflated tube in a shallow basin of water until small streams of bubbles pinpoint the exact leak. Once found, dry the area and mark the hole with a chalk pencil.
Surface preparation is the single most vital factor determining whether a patch succeeds. New inner tubes have slick mold-release agents and manufacturing seams that prevent bonding. Using sandpaper from your kit, abrade an area slightly larger than your patch using circular strokes. Scuff away the glossy sheen until the rubber turns dull and evenly textured. Blow away the rubber dust; never wipe it with oily fingers or saliva, which contaminates the vulcanizing surface.
Applying Vulcanizing Fluid and Sealing the Patch
Spread a thin, even film of vulcanizing fluid across the abraded circle. The most frequent repair mistake is applying the patch while the glue is still wet. Vulcanizing fluid is not standard contact cement; it is an activating agent that chemically softens the butyl rubber. Wait two to four minutes until the fluid dries to a completely matte, non-sticky finish.
Peel the silver backing foil from the patch without touching the sticky vulcanizing compound. Center the patch squarely over the puncture hole and press it down firmly. Work your thumbs firmly from the center toward the feathered edges for at least sixty seconds to eliminate trapped air pockets and ensure complete bonding. You can leave the clear top cellophane in place or gently peel it from the center outwards.
Final Inspection and Installation
Once bonded, add a modest amount of air to inspect the repair and ensure the patch stretches smoothly with the tube contour. Before seating the tire bead back onto the rim, ensure the tube is slightly rounded to prevent pinch flats. Inflate the tire to your target riding pressure following our bicycle tire pressure guide. For riders seeking puncture resilience without dealing with tubes on rocky tracks, considering tubeless tire setup and maintenance provides an effective tubeless alternative.