
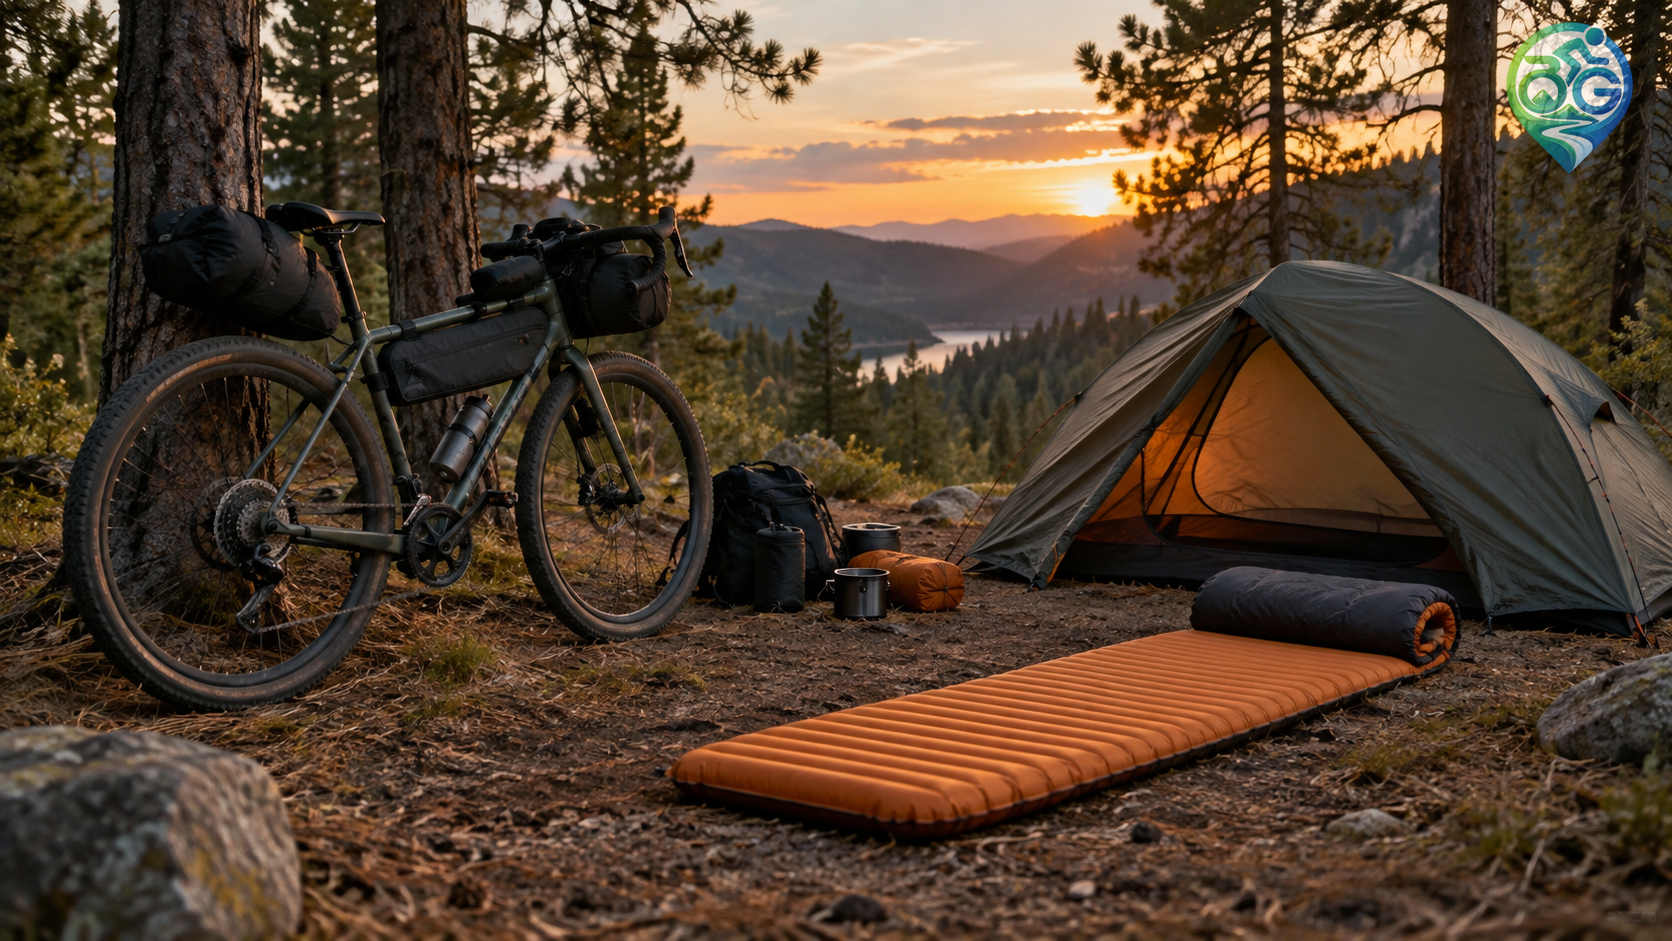
A sleeping pad is easy to underestimate when planning a bikepacking kit. It affects warmth, recovery and how well you sleep, but it also occupies valuable bag space every day. The best choice is rarely the lightest pad on a spreadsheet. It is the one that matches the ground, temperatures and sleeping position you will actually encounter, while remaining practical to inflate, protect and repair on tour.
What does R-value tell you?
R-value describes how strongly a pad resists heat moving into the ground. A higher number generally provides more insulation, but it should not be treated as a precise overnight temperature guarantee. Testing methods and manufacturers’ ratings are not always presented in exactly the same way. A thin summer pad may be perfectly comfortable on warm, dry soil and disappointing on a cold shoulder-season trip. If your calendar includes spring and autumn nights, extra insulation can be worth more than a small weight saving.
Inflatable, foam and hybrid designs
Inflatable pads pack small and can provide impressive cushioning for their weight. They also need more care around thorns and sharp gravel, so carry the supplied repair kit and learn how the valve works before leaving. Closed-cell foam pads are bulkier but simple, fast and immune to punctures. They can double as a sit pad during a cooking break. Hybrid designs sit between those options. Compare the full system, including the sack, pump if required, repair kit and storage shape, rather than the pad alone.
Length and width matter at camp
A short or narrow pad may save a few grams, but shoulders or feet hanging over the edge can make hard ground much more noticeable. Side sleepers usually benefit from enough width to keep their elbows and hips supported while turning. Taller riders need to check the actual sleeping length, not just the marketing category. Also measure the tent floor: a wide pad can press against the walls when paired with a sleeping bag. The bikepacking starter guide puts these comfort decisions alongside bag volume and route conditions.
Weight versus packed volume
When comparing weight, include the stuff sack, repair kit and any inflation aid. A very small packed pad can free space in a handlebar or frame bag, while a larger foam pad may be easier to reach and deploy at a rest stop. Pack it with the rest of your sleep system before deciding. The bikepacking gear checklist helps you see the sleeping system as part of the complete camp load rather than an isolated purchase.
Ground protection and durability
Clear stones and sticks before pitching, and use a groundsheet when the manufacturer recommends one. A slippery top fabric can send a sleeping bag towards the tent wall during the night. Some inflatable pads are also noticeably noisy when you move, which may matter if you share a shelter. Look for a repairable valve and surface, and read long-term user reports for seam or coating issues. The bikepacking stove guide uses the same useful principle: judge each item by the real campsite routine, not by a single headline specification.
Try before you commit
Inflate the pad fully at home and lie on it for several minutes in your normal sleeping position. If your hips reach the floor, adjust pressure and reconsider the thickness. Excessive firmness can also create pressure at the shoulders or lower back. Check how quickly the valve opens, how long packing takes and whether the repair kit fits your tool roll. For cold-weather trips, follow the maker’s storage and inflation guidance. A reliable pad you can carry without resentment is a better touring choice than the absolute lightest option.


Discussion & Comments 0
Share your thoughts, gear experiences or ask questions about this guide.
No comments yet.
Be the first to share your thoughts!
Join the Discussion
Log in with your Bisikletli Gezgin mobile account to participate in discussions and track your contributions.