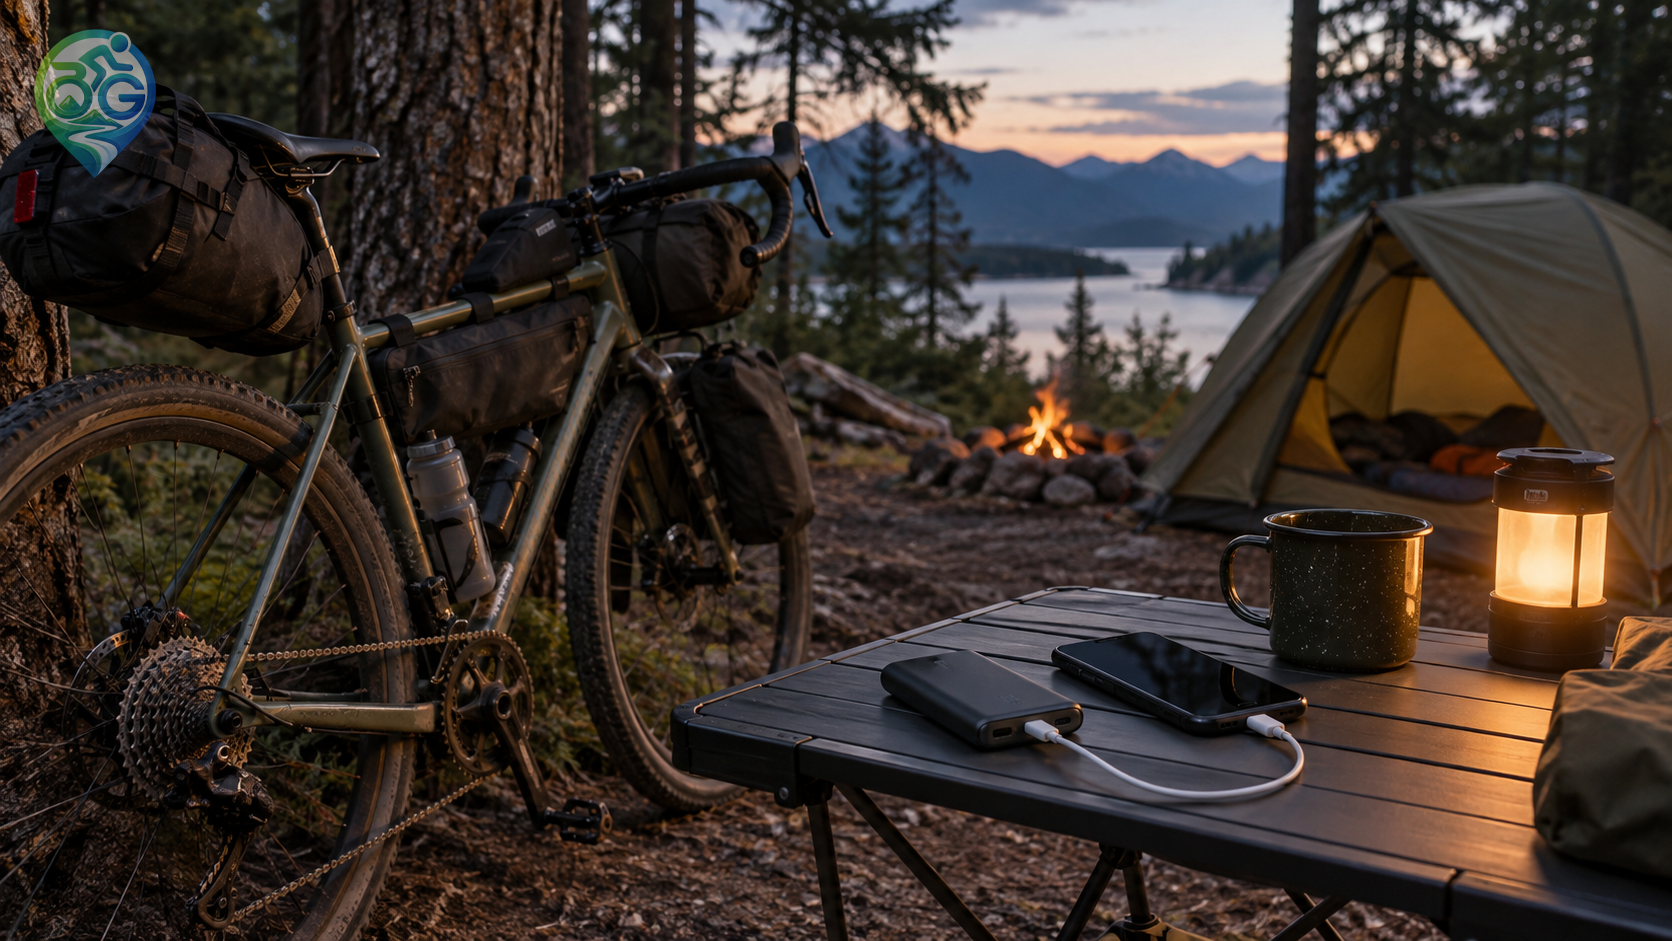
A power bank for bike touring has to solve a practical problem without becoming another awkward item in the luggage. Your phone, navigation device, lights and camera may all draw power at different rates, while cold weather and long screen time can make a normal day feel longer. Capacity matters, but so do output, cables, protection and where the unit can be reached. The useful choice is a dependable balance for the route you are actually riding.
List the devices you really use
Start with a simple daily inventory. Charging a phone once at camp is very different from running navigation, mobile data, an active screen and frequent photos all day. Add a bike computer or light if it depends on USB power. The capacity printed on the package is not identical to the energy delivered to a device because conversion and cable losses take a share. The cycling GPS guide helps connect navigation battery behaviour with route decisions.
Size capacity for the trip
A small unit can be a sensible choice for a day ride, while a multi-day route without reliable outlets may justify more reserve. More capacity also means more weight and volume, so do not buy a large brick simply because its headline number sounds reassuring. Include cold conditions and unusually long navigation days in your safety margin. The bikepacking starter guide places electronics inside the wider bag and shelter system rather than treating them as a separate packing problem.
Check output and port compatibility
Output power and port layout are as important as capacity. A phone that supports fast charging needs a compatible output and a cable that can carry it; a high watt rating does not force every connected device to charge at that speed. Connecting two devices at once may also divide the available power. Check the connector standard for your phone, lights and GPS before leaving. A short, durable cable is usually easier to manage around a handlebar or frame bag than a long loose lead.
Protect the battery on tour
Keep electronics away from the pocket most exposed to rain and road spray. Use a separate waterproof pouch, protect the ports from grit and follow the maker’s temperature guidance. Do not leave a lithium battery in direct hot sun or sealed inside damp gear. If you charge while stopped, place the unit where it can release heat instead of burying it inside a tightly packed bag. Simple separation between wet equipment and electronics prevents many avoidable failures.
Charge before the emergency level
Do not wait for the phone to reach its final few percent before using the backup. Top up during a suitable café, rest or overnight stop and keep enough reserve for navigation changes or a delayed finish. The long-distance cycling preparation guide treats battery, food and route decisions as part of the same reserve system.
Test the complete setup
Before buying or touring, weigh the power bank with its cable, pouch and any adapters. Test it with the actual phone and devices you carry, checking for heat, intermittent connections and unexpectedly slow charging. The bikepacking gear checklist helps you see where the extra electronics fit in the total luggage. The best power bank is not the largest one; it is the one you can protect, reach and trust for the whole route.