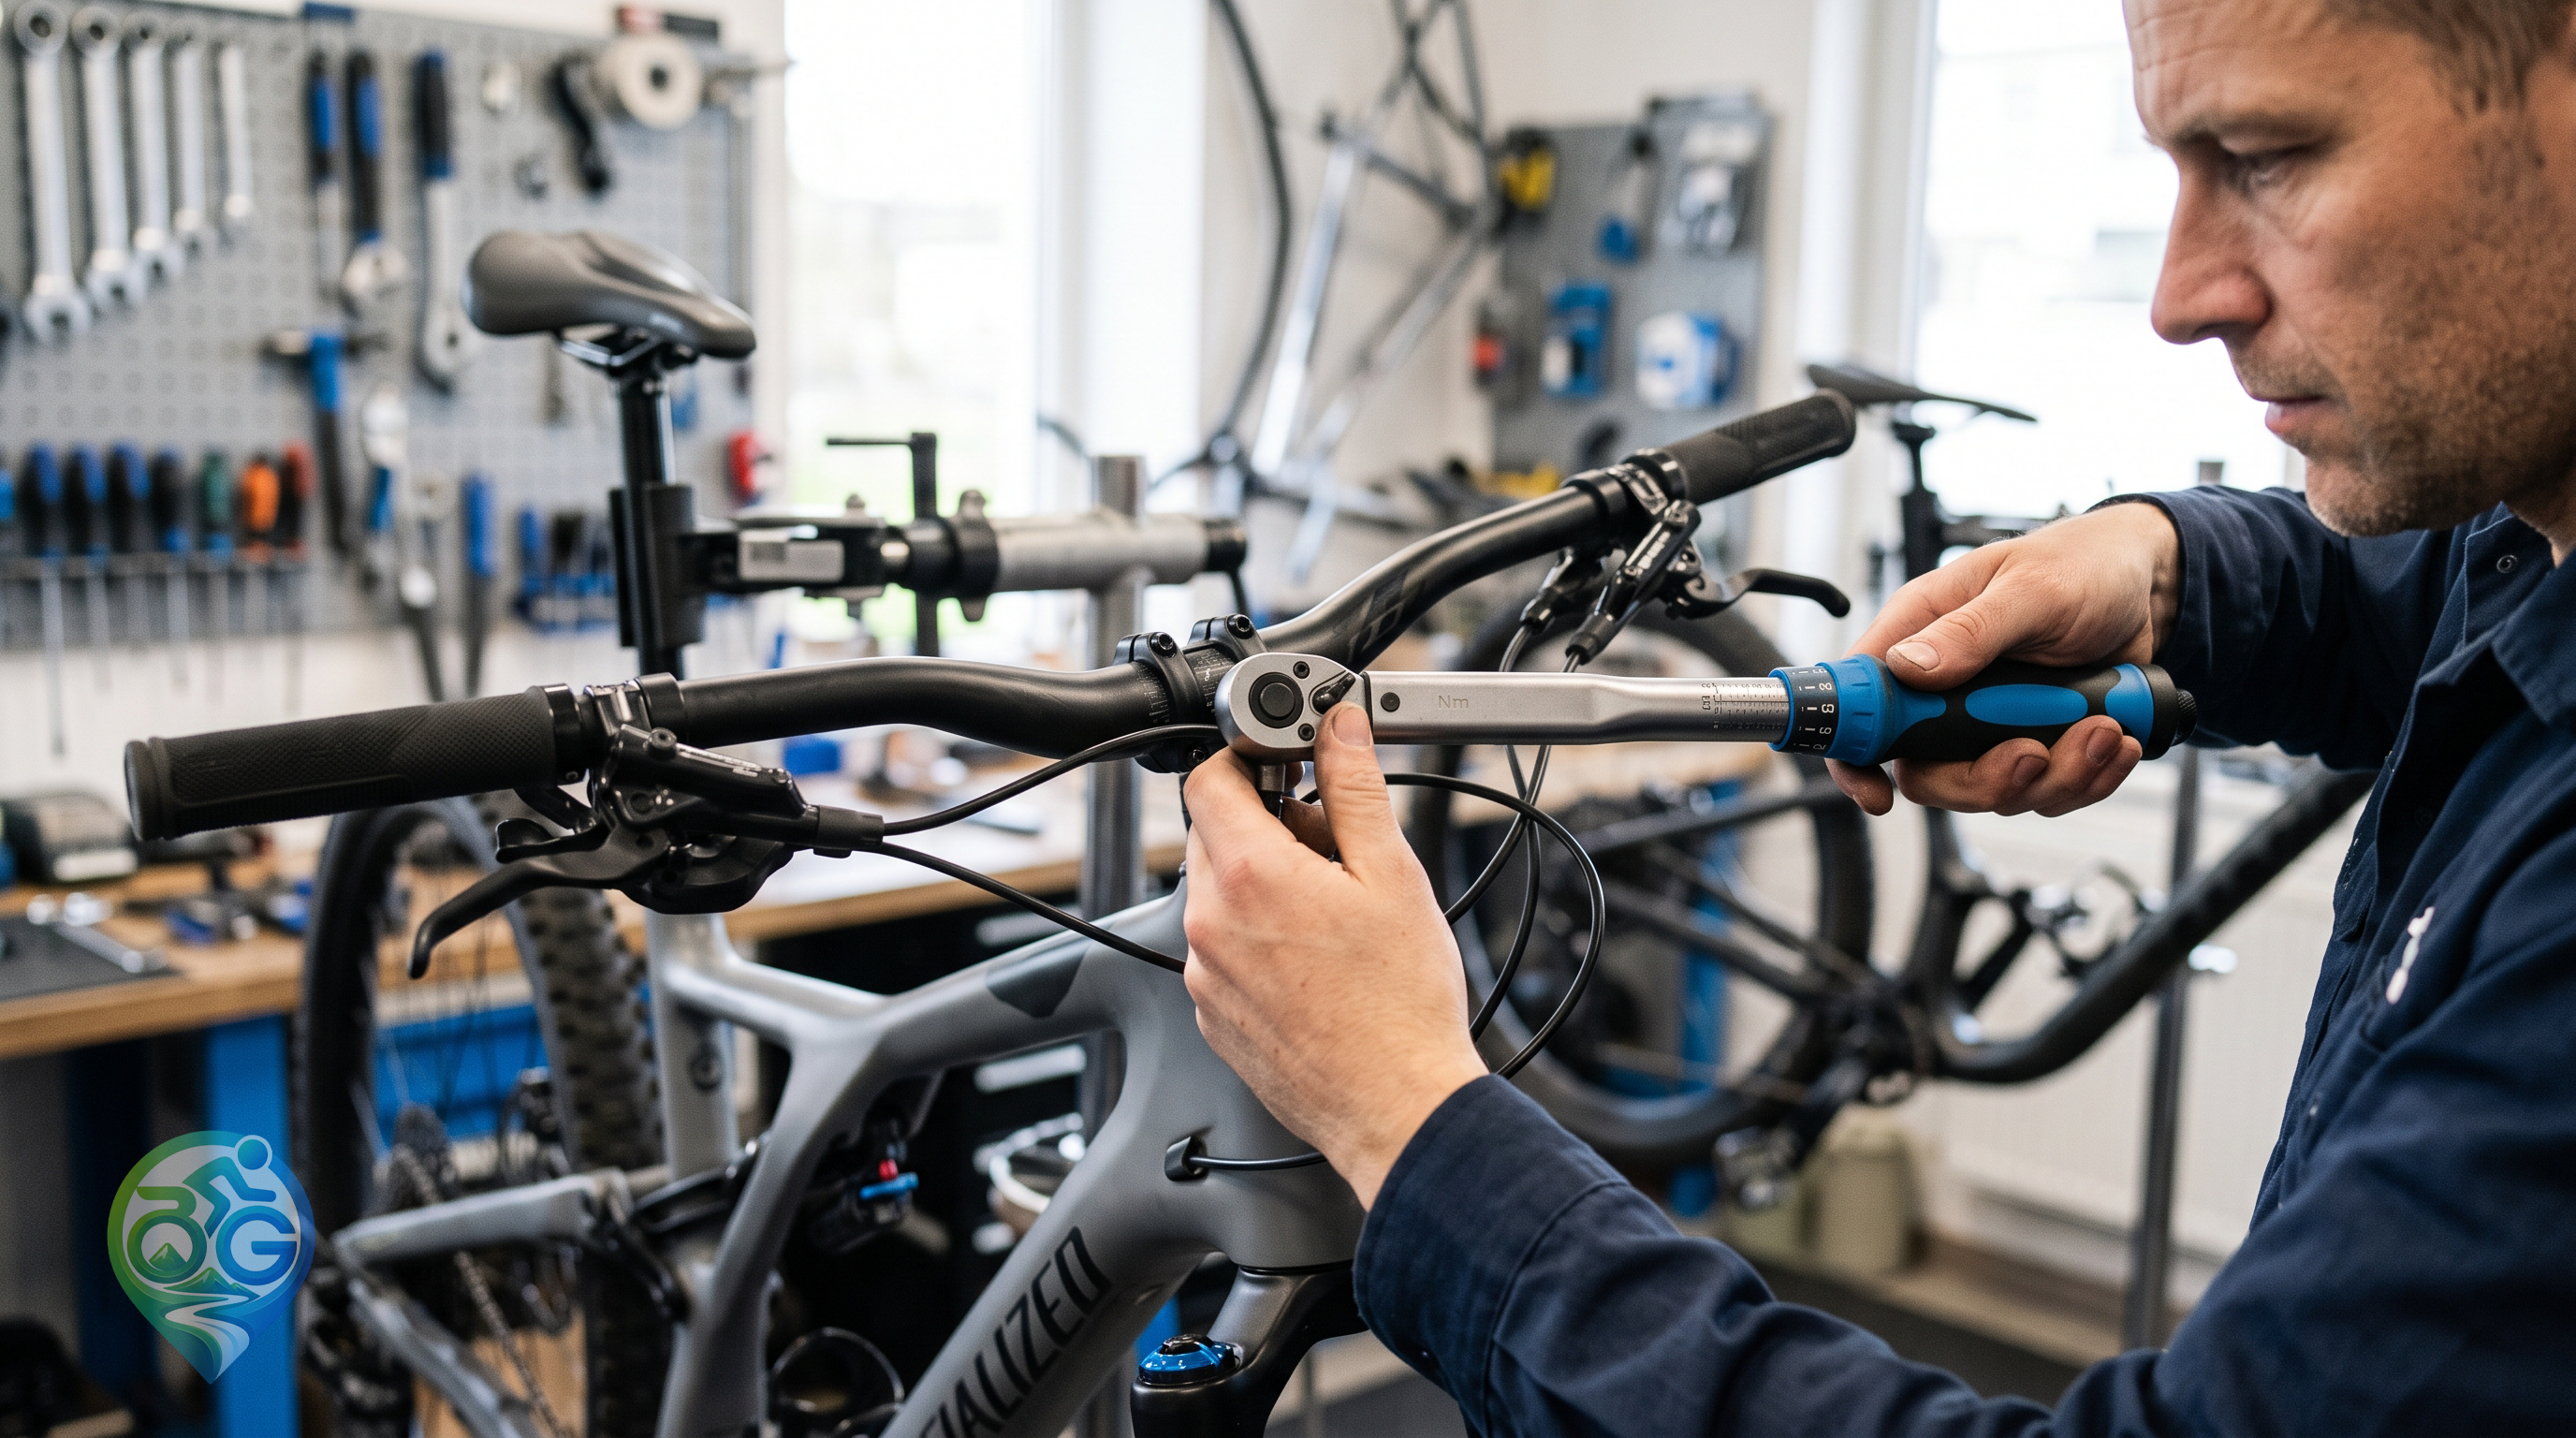
“Give it another quarter-turn so it stays put” is not a reliable way to finish a stem clamp or seatpost fastener. Too little clamping force can let a joint move; too much may damage the threads or the component. A torque wrench gives you a controlled way to approach the value specified by the part maker. It cannot tell you what that value should be, though. Good work starts with the correct manual, then uses the tool within its designed range.
What the number on a torque spec means
Torque describes the turning moment applied to a fastener and bicycle specifications are commonly written in Newton metres (Nm). There is no single value for every bicycle bolt. Two fasteners that accept the same hex key can have different limits because the joint, materials and assembly instructions differ. Use the marking on the component or the manufacturer’s manual for that exact model. Do not borrow a value from a similar-looking part or a generic chart. If no reliable figure is available, ask the maker or a qualified mechanic rather than estimating.
Match the specification to the wrench
Check that the stated value belongs to the fastener you are working on; a stem clamp, handlebar clamp and seatpost collar are not interchangeable. Thread condition and assembly preparation can affect how a joint behaves, so follow the instructions about lubrication or dry assembly instead of changing them casually. Then compare the target with the wrench’s marked operating range. If the value sits outside that range, use a suitable wrench rather than approximating it. Choose a bit that fits the bolt head fully. A loose, worn or mismatched bit can slip and damage the fastener before the torque setting is reached.
Set the wrench and apply steady pressure
Follow the tool’s own instructions to unlock the adjustment, set the target value and lock it again. Read the scale carefully; do not invent a value between markings if the wrench cannot resolve it. Fit the bit squarely, keep the tool aligned with the fastener and turn with smooth, even pressure at the handle’s intended grip point. Avoid leaning the tool sideways, adding a pipe to extend the handle or using an impact driver to finish the job. The wrench is a measuring instrument, not a shortcut for a damaged or cross-threaded bolt.
On a click-type wrench, the signal may be an audible click, a movement in the head or both. Park Tool’s TW-5.2/TW-6.2 instructions say to release force as soon as the signal occurs. The company also notes that low settings on its click-type models can be quiet or produce little audible click, so learn the feel of your specific tool rather than waiting for a loud sound. Do not keep pulling after the threshold to “make sure.” If a component uses several fasteners, follow its specified tightening sequence.
When a torque wrench is the wrong tool
A click-type torque wrench should not automatically be treated as an everyday ratchet for removing bolts. Park Tool advises against using its click-type models to loosen fasteners; check the instructions for your own wrench and use an appropriate tool for disassembly. Stop if a bolt binds, begins to cross-thread, has a damaged head or keeps turning unexpectedly. For safety-critical joints—including the handlebar, stem, seatpost and brake hardware—use the component maker’s fitting procedure. If a part slips, cracks or shows damage, do not ride until it has been checked.
Look after the measuring mechanism
After the job, return the adjustment and store the tool as its manufacturer directs. Park Tool’s instructions for the TW-5.2 and TW-6.2 say to set those models to the lowest scale value for storage; do not assume that every wrench uses the same procedure. Keep a precision tool from being dropped or exposed to water and cleaning solvents the maker warns against. If the wrench has taken a hard impact, has seen heavy use or seems unreliable, check its maker’s calibration and service guidance.
Continue with the related workshop guides
Correct torque is one part of a careful adjustment. For more on working around the drivetrain, see our bicycle gear adjustment guide; for the stopping system, read the bicycle brake adjustment guide; and for seatpost positioning, use the bicycle saddle-height guide. In each case, the instructions for your specific component take priority over a general workshop tip.