Your brakes deserve attention before your gears do. When you squeeze the lever, the bike should slow in a straight, predictable line. If the lever feels spongy, reaches the handlebar, or one pad rubs constantly, a small adjustment may be due. The steps below are a useful starting point for cable-operated rim brakes and mechanical disc brakes. Leave hydraulic fluid and bleeding work to a qualified mechanic.
Identify the brake and the symptom
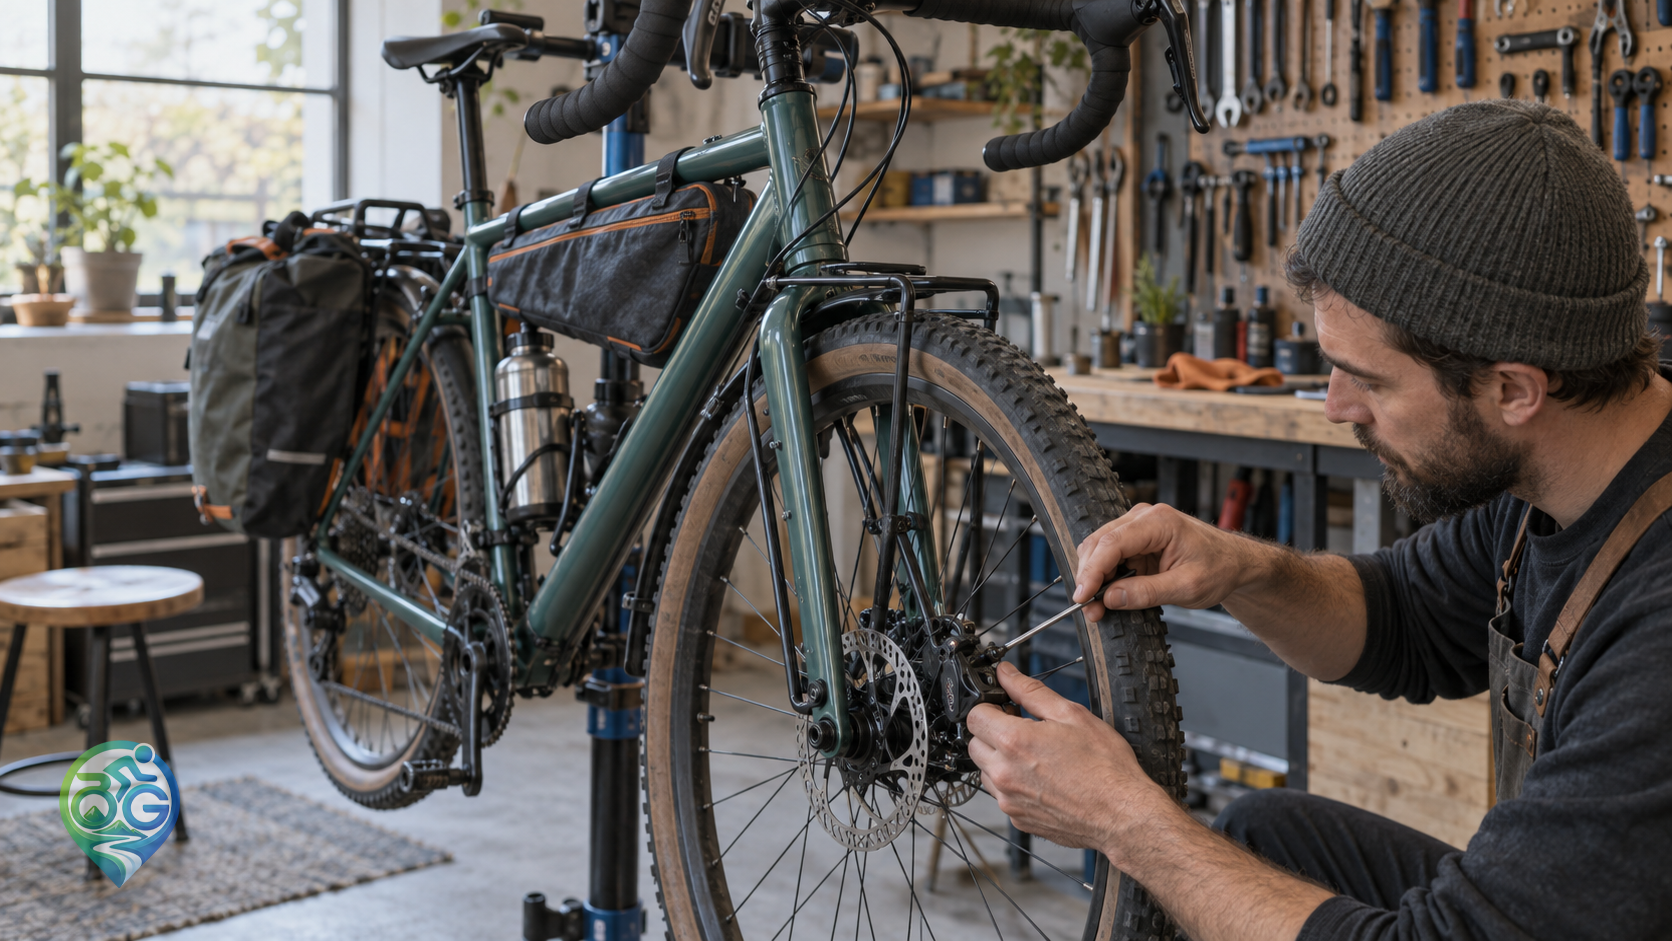
Rim brakes press two pads against the wheel’s braking track, while a mechanical disc caliper clamps a rotor at the hub. Put the bike on a stand and spin the wheel by hand. Squeeze the lever gradually and notice how quickly the wheel stops, whether both pads move together, and whether there is any unusual noise. Dirt on the pad may only need cleaning; excessive lever travel usually points to cable tension or worn pads.
Inspect the pads and braking surface
Replace a rim pad when its grooves have disappeared, the rubber has hardened, or the pad is touching the tyre instead of the rim. The pad should sit parallel to the rim, with its rear edge meeting the surface a fraction before the front edge. That slight toe-in helps reduce squeal. On a disc brake, stop riding if the metal backing plate is showing or the rotor has been contaminated with oil. Never spray lubricant near the rotor; use a clean cloth and suitable isopropyl alcohol instead.
Set cable tension with small changes
If the lever comes too close to the bar, turn the barrel adjuster on the caliper counter-clockwise by two turns. Test the wheel after every small change. Check that each cable housing is fully seated in its stops before adjusting further. If the lever still feels loose, release the cable pinch bolt and re-tension the cable so that roughly two finger-widths remain between the lever and the handlebar at full braking. Too much tension leaves the pads dragging and makes the wheel feel heavy.
Center the caliper
On a rim brake, the caliper should sit evenly around the rim. If one pad is closer, use the small centering screw near the pivot, working in quarter-turns. For a mechanical disc brake, loosen the caliper bolts slightly, hold the brake lever, and tighten the bolts evenly. Then set the fixed pad so there is only a paper-thin gap to the rotor. If the rotor rubs at the same point on every rotation, it may be bent; have it measured rather than forcing it straight.
Bed in and test before a real ride
Finish with a short test on a quiet, flat road at low speed. Use the front and rear brakes separately. The bike should not pull to one side, and the lever should feel firm and repeatable. As with the chain cleaning and lubrication guide, regular light maintenance beats a rushed repair before a tour. If noise remains, the cable is rusty, or a hydraulic lever is leaking, stop troubleshooting and book a service.
When a mechanic is the right choice
A cracked caliper, deeply worn rotor, frayed cable, fluid leak, or sudden loss of lever travel is not a problem to postpone. Have the brakes inspected before a long descent or bikepacking trip. Our gear adjustment guide and tubeless maintenance article can help you complete the rest of your pre-ride check. Work slowly, and ask an experienced mechanic when a step does not feel clear.