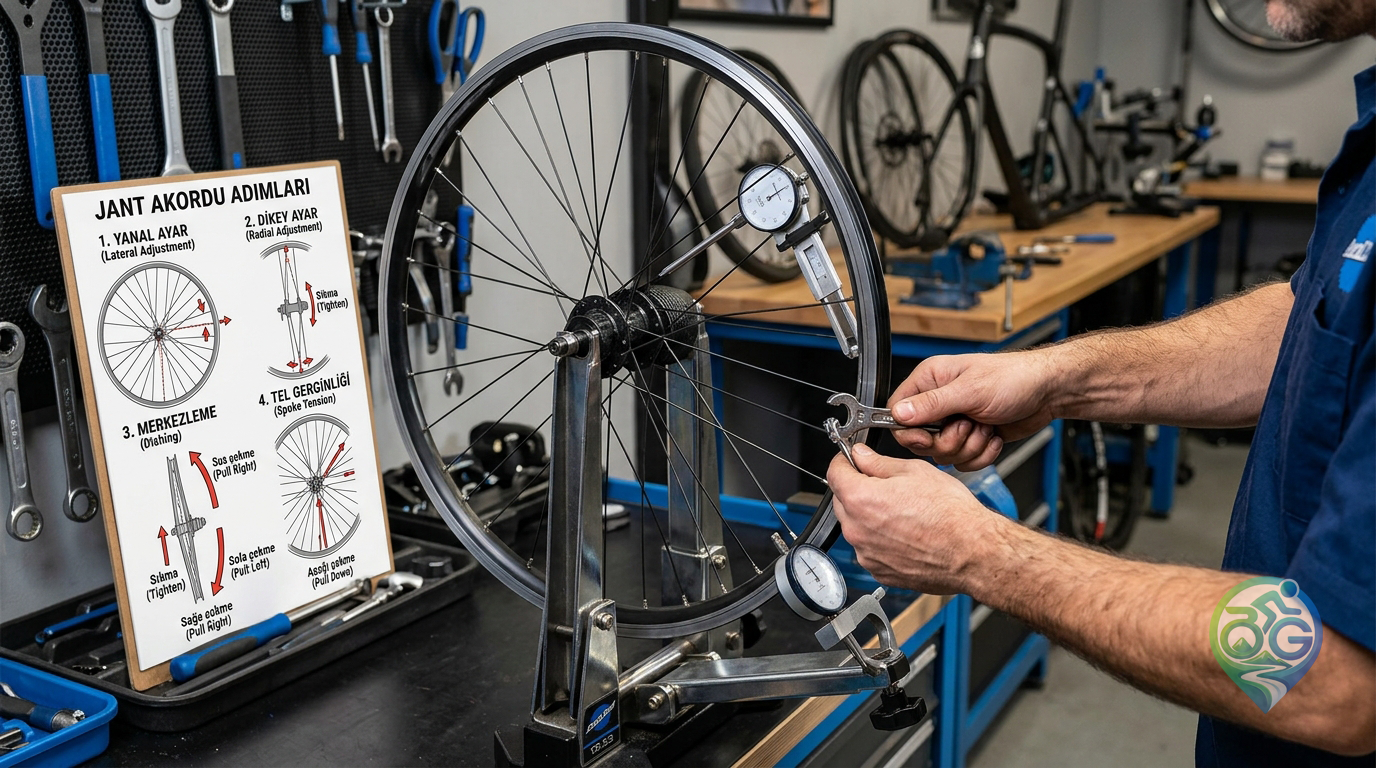
A wheel that brushes a rim brake once per revolution, moves visibly between the brake pads, or feels unsettled under load may need attention. Wheel truing is not simply a matter of making the rim look straight. A sound wheel also depends on roundness, centring over the hub, and reasonably even spoke tension.
Small corrections are a useful home-maintenance skill. A rim with a crack, a sharp impact flat, a broken spoke, or badly uneven tension is a different job. In those cases, turning nipples at random can make the wheel less reliable. The method below is intended for a serviceable spoked wheel with a modest deviation.
Set up the wheel before adjusting it
A truing stand makes the job easier, but the bicycle itself can work as a temporary fixture. Put the bike in a repair stand or turn it over so the wheel spins freely. Use a correctly sized spoke wrench and place a fixed pointer close to the rim. A zip tie secured to the fork or frame can work as a simple reference for side-to-side movement. Remove distractions first: check that the tyre is seated evenly, that the axle is properly installed, and that the hub has no obvious play.
Tyre pressure and a displaced rim tape can sometimes look like a wheel problem. If you are unsure about the baseline, the site’s bicycle tyre pressure guide is a useful companion read.
Find the lateral wobble
Spin the wheel slowly and watch where the rim comes closest to the pointer. Note whether the deviation is concentrated in one short section or spread over a longer transition. If the rim moves towards the right-hand pointer, the adjustment should move that section back towards the left: the relevant right-side spokes are tightened slightly, or the matching left-side spokes are loosened slightly. Reverse the logic when the rim moves left.
Start with a quarter-turn or less. After each change, spin the wheel again and reassess the same area. A correction shared across two or three neighbouring spokes is usually easier to control than a large change to one spoke. Turn the nipple deliberately and keep track of which side of the wheel you are working on; spoke-wrench direction is easy to misread when you are looking at the nipple from above.
Why small corrections work better
A full turn can move the rim past the intended line and create a new imbalance. After a few small adjustments, gently squeeze pairs of spokes to help the wheel settle, then check the area again. The goal is a smooth transition through the rim, not a perfectly straight-looking point surrounded by sudden bends.
Check radial runout and dish
Radial runout is the up-and-down change in the rim’s path as it turns. It is more sensitive than a simple side-to-side correction. A high spot may respond to carefully tightening the spokes around that section, but an impact-damaged rim may not be recoverable through spoke tension alone. Do not chase a large flat or dent by making every nearby spoke tighter.
Also check the dish: the rim should sit in the centre of the fork or frame. A wheel can have little lateral wobble in the stand and still be offset from the bike’s centre line. Dish is especially important when the wheel uses different spoke angles or a rear hub with a cassette. For brake-related checks, see the bicycle brake adjustment guide.
Assess spoke tension without guessing
Spokes do not all have to produce the same note. Wheel design, spoke length, lacing pattern, and the position of each flange affect the result. A spoke that is obviously loose compared with its neighbours, moves freely under light finger pressure, or keeps losing tension deserves attention. Reliable tension values come from the rim or wheel manufacturer and are best checked with a tensiometer.
Think of spoke tension as a system rather than a collection of isolated screws. Over-tightening one area can overload the rim or pull the wheel away from centre. The site’s guide to using a bicycle torque wrench explains the same wider maintenance principle: controlled adjustment is safer than relying on force or guesswork.
Stop if you find a cracked rim, a damaged nipple, a broken spoke, a split around a spoke hole, or a wheel that immediately goes out of true again. A recurring problem may involve the rim, spokes, hub, or dish rather than one final nipple turn. This is a good point to use a qualified bicycle mechanic.
Finish with a careful test
When the wheel looks consistent, reinstall it and secure the axle according to the bicycle or hub instructions. Check brake clearance, spin the wheel again, and take a short, low-speed ride in a safe place. Listen for rubbing or new clicking and inspect the wheel after the first few rides. Small settling changes are possible, but repeated large adjustments are a sign that the underlying problem needs a closer look.
Good wheel truing is a balance between accuracy and restraint. Make small changes, measure again, and stop when damage or uneven tension suggests that home adjustment is no longer the right tool for the job.