
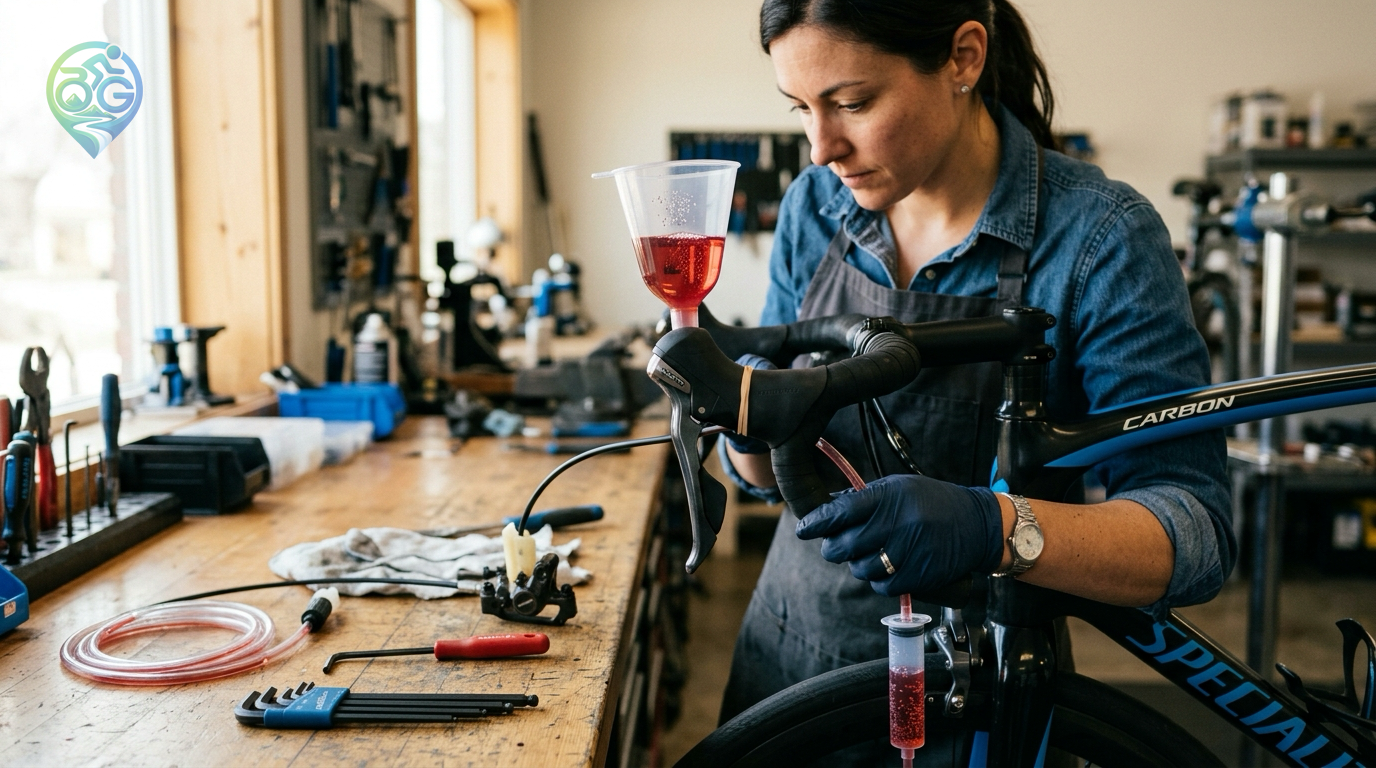
Hydraulic bicycle disc brakes deliver unrivaled stopping power, sensitive modulation, and all-weather reliability across rugged gravel trails and technical mountain descents. However, over hundreds of kilometers of riding and heat cycles, you may pull the brake lever only to find it squishy, lacking initial bite, or pulling directly against the handlebar tape. This dangerous loss of pressure indicates that microscopic air bubbles have contaminated the sealed hydraulic fluid line. Learning how to bleed bicycle hydraulic brakes purges trapped air and restores that crisp, immediate lever feel.
What Causes a Spongy Bike Brake Lever?
Brake fluid is essentially incompressible. When you squeeze the lever blade, fluid transfers your finger force instantly to the caliper pistons, clamping the pads against the rotor. Gases, however, compress effortlessly under pressure. Even a few tiny bubbles inside the hydraulic hose will absorb your hand effort, producing a distinctly soft and spongy bike brake lever.
On prolonged descents, friction heat from the rotor warms the brake fluid. Trapped air pockets expand drastically under heat, causing sudden brake fade or complete mechanical lever failure. Before performing a fluid bleed, make sure your caliper is not mechanically misaligned or dragging by following our tutorial on how to fix disc brake rub on a bicycle.
The Golden Rule: Mineral Oil vs DOT Brake Fluid
Never begin a brake bleed without identifying the exact fluid specified by your brake manufacturer. Bicycle braking systems are engineered around two incompatible fluid chemistries:
- Mineral Oil: Used exclusively by Shimano, Magura, Tektro, and Campagnolo. It does not strip bicycle frame paint and does not absorb atmospheric moisture, but requires system-specific formulation.
- DOT Fluid (DOT 4 and 5.1): Engineered primarily for SRAM and Avid systems. It boasts an exceptionally high wet boiling point, but is corrosive to bike paint and toxic to skin.
Comparing mineral oil vs dot brake fluid is not merely about preference—the internal rubber seals are chemically formulated for one specific compound. Pouring DOT fluid into a Shimano caliper will degrade the internal quad-rings within hours, causing irreversible leakage. For broader brake maintenance tips, review our bicycle brake adjustment guide.
Step-by-Step Bleeding Procedure with a Funnel and Syringe
Follow these essential shop procedures to achieve a rock-solid lever bleed:
- Remove Pads and Insert Bleed Block: Take off the wheel and remove both brake pads. Insert a hard plastic manufacturer bleed block between the pistons. Any stray droplet of fluid on friction material permanently ruins the pads.
- Mount the Bleed Funnel: Position the brake lever horizontal to the ground. Remove the bleed port screw and thread the clear bleed funnel securely into the master cylinder. Fill the reservoir one-third full with fresh fluid.
- Flick the Lever and Purge Bubbles: Slowly depress and quickly snap the lever blade. You will observe micro-bubbles rising through the fluid column in the funnel. Gently tap the hose with a plastic tool handle from the caliper upward to liberate stubborn trapped air pockets.
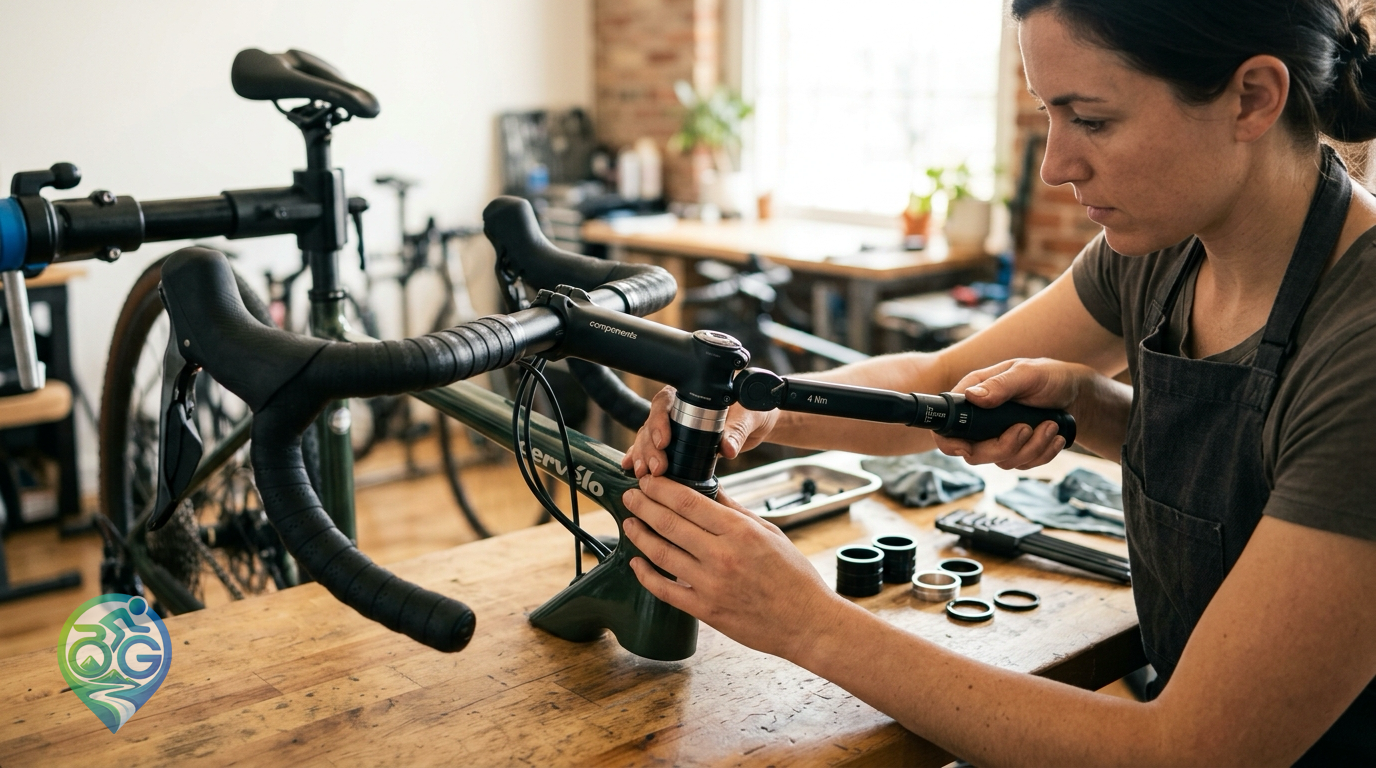
- Seal and Torque Correctly: Once bubbling ceases and lever stroke feels rock-hard, insert the funnel stopper and unscrew the funnel. Reinstall the bleed port screw, wiping away all overflow with isopropyl alcohol. When securing caliper mounting bolts or bleed screws, consult our guide on how to use a bike torque wrench to avoid stripping delicate magnesium threads.
After cleaning all surfaces with alcohol, reinstall your pads and wheel. Pump the lever several times to reset pad contact before heading out on your ride.
Discussion & Comments 0
Share your thoughts, gear experiences or ask questions about this guide.
No comments yet.
Be the first to share your thoughts!
Join the Discussion
Log in with your Bisikletli Gezgin mobile account to participate in discussions and track your contributions.