A new pair of cycling shoes can make a familiar pedal stroke feel oddly different. Often the cleat has simply moved, but that does not mean there is one universal fore-aft measurement or foot angle to copy. Treat the shoe markings and the pedal maker’s instructions as a starting point, then make small, reversible adjustments. Comfort and a reliable release matter more than matching someone else’s setup.
Record the position you already know
If you are replacing worn cleats, photograph each shoe before removing anything and trace the outline on the sole with a fine marker. That gives you a useful baseline if the new position feels worse. Do not assume the left and right marks must be identical: riders’ natural foot positions can differ. On a first setup, the middle of the shoe’s adjustment track is a practical reference, not a prescription.
Shimano’s shoe-fitting guidance relates its standard starting point to the centre of the ball of the foot. Use the reference method supplied for your shoe and cleat system; shoe sizes and sole markings are not interchangeable measurement tools. Once the cleat is mounted, your actual position may need a careful, modest refinement.
Set fore-aft position in small steps
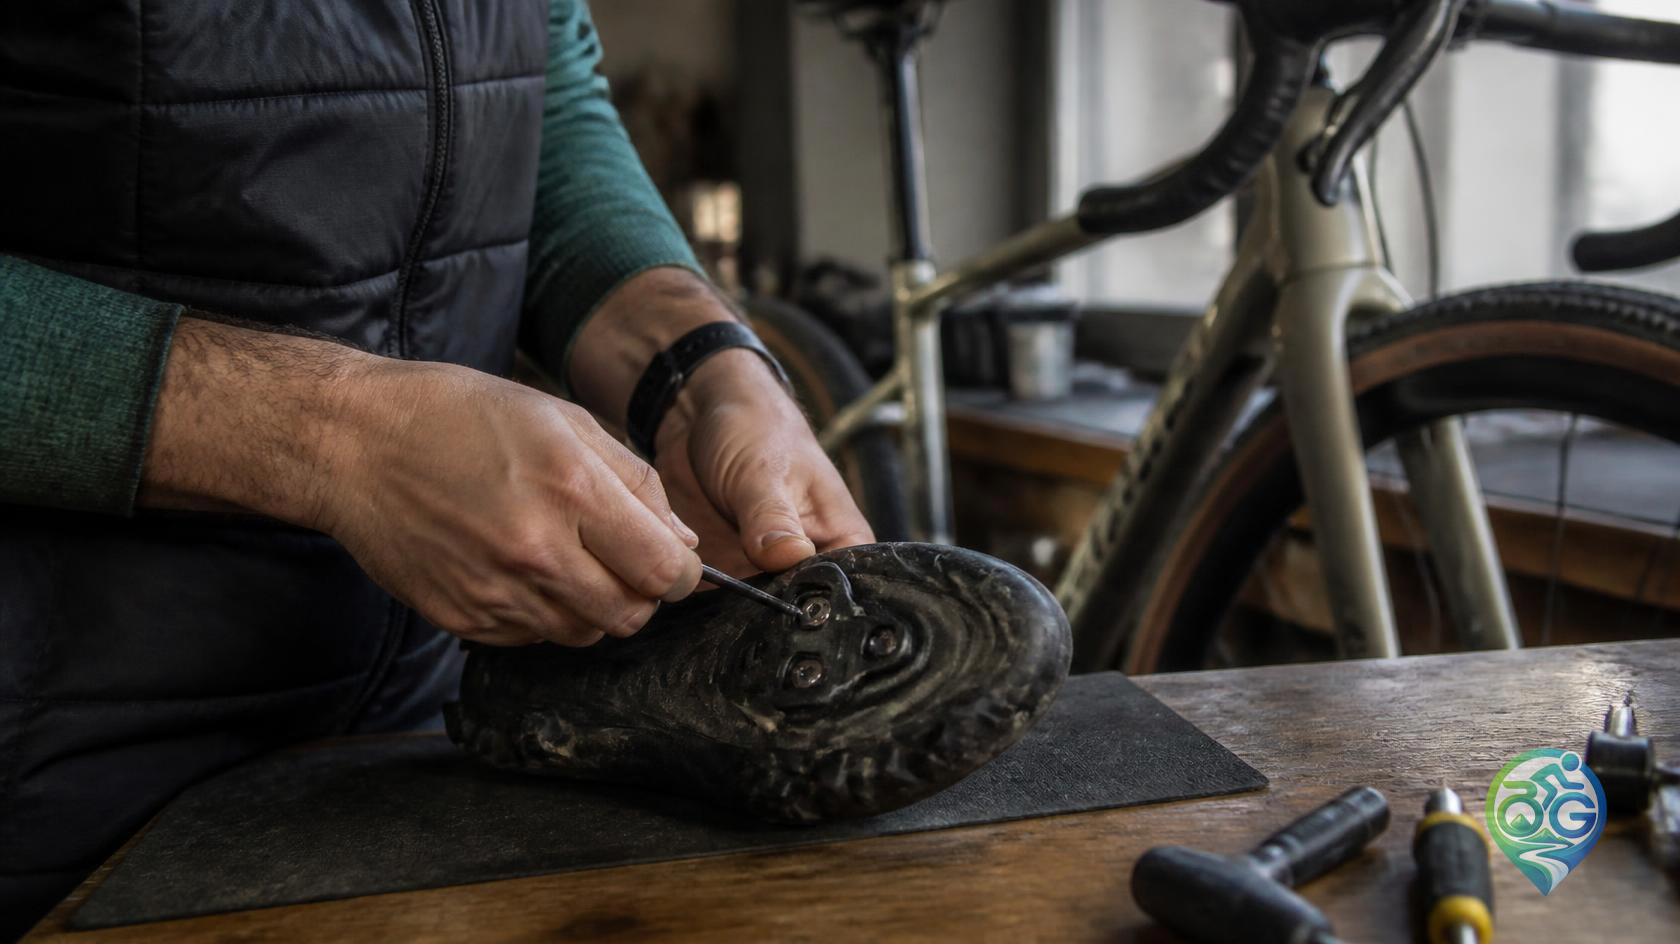
Locate the ball of the foot and transfer the maker’s reference point to the outside of the shoe if that helps you see it while working. Place the cleat at the recommended starting mark and loosely fasten it so it can still move. Adjustment slots and available travel vary by model. One Shimano SPD service document, for example, specifies a particular range for the compatible pedal family; that figure should not be carried over to a different shoe or cleat.
If the shoe feels too far forward or back under load, move the cleat only a few millimetres, then assess both feet separately. A more rearward position can alter how easily some systems release, so follow the instructions for your exact pedals and cleats. Avoid changing several variables at once; otherwise you will not know which adjustment helped.
Let your foot choose the angle
With the shoe clipped in, your heel should not be forced into an artificially straight line. Begin close to the angle your foot adopts naturally, and check that the heel has sensible clearance from the crank. Side-to-side movement also affects stance and shoe clearance. If the heel rubs, the shoe contacts the crank, or a joint becomes uncomfortable, stop and return to the marks you made before experimenting further.
Secure the bolts, then practise the release
First tighten the bolts only enough to keep the cleat from shifting during a fit check. While stationary, hold the brakes and practise clipping in and out one foot at a time. Shimano’s service instructions likewise separate provisional positioning from final tightening. Use the torque and tightening sequence specified for your own cleat, shoe and hardware; there is no safe universal value to borrow from another setup, especially with a carbon sole.
After final tightening, begin with an easy ride where you can stop safely. Confirm that engagement is positive and that you can release each foot deliberately. Recheck the bolts after the first ride if the manufacturer recommends it, and inspect the cleats for wear rather than waiting for an unexpected release.
When a fitter is the better next step
Small adjustments are normal; persistent knee, foot or hip pain is not something to diagnose by endlessly rotating a cleat. If you have an injury history, a marked left-right difference or need a substantial position change, work with a qualified bike fitter. A cleat can influence how the foot meets the pedal, but it cannot replace a full fit or medical advice.
For the rest of the contact points, see our guide to setting saddle height, our explanation of cadence and effort management, and the practical article on using a bike torque wrench.