
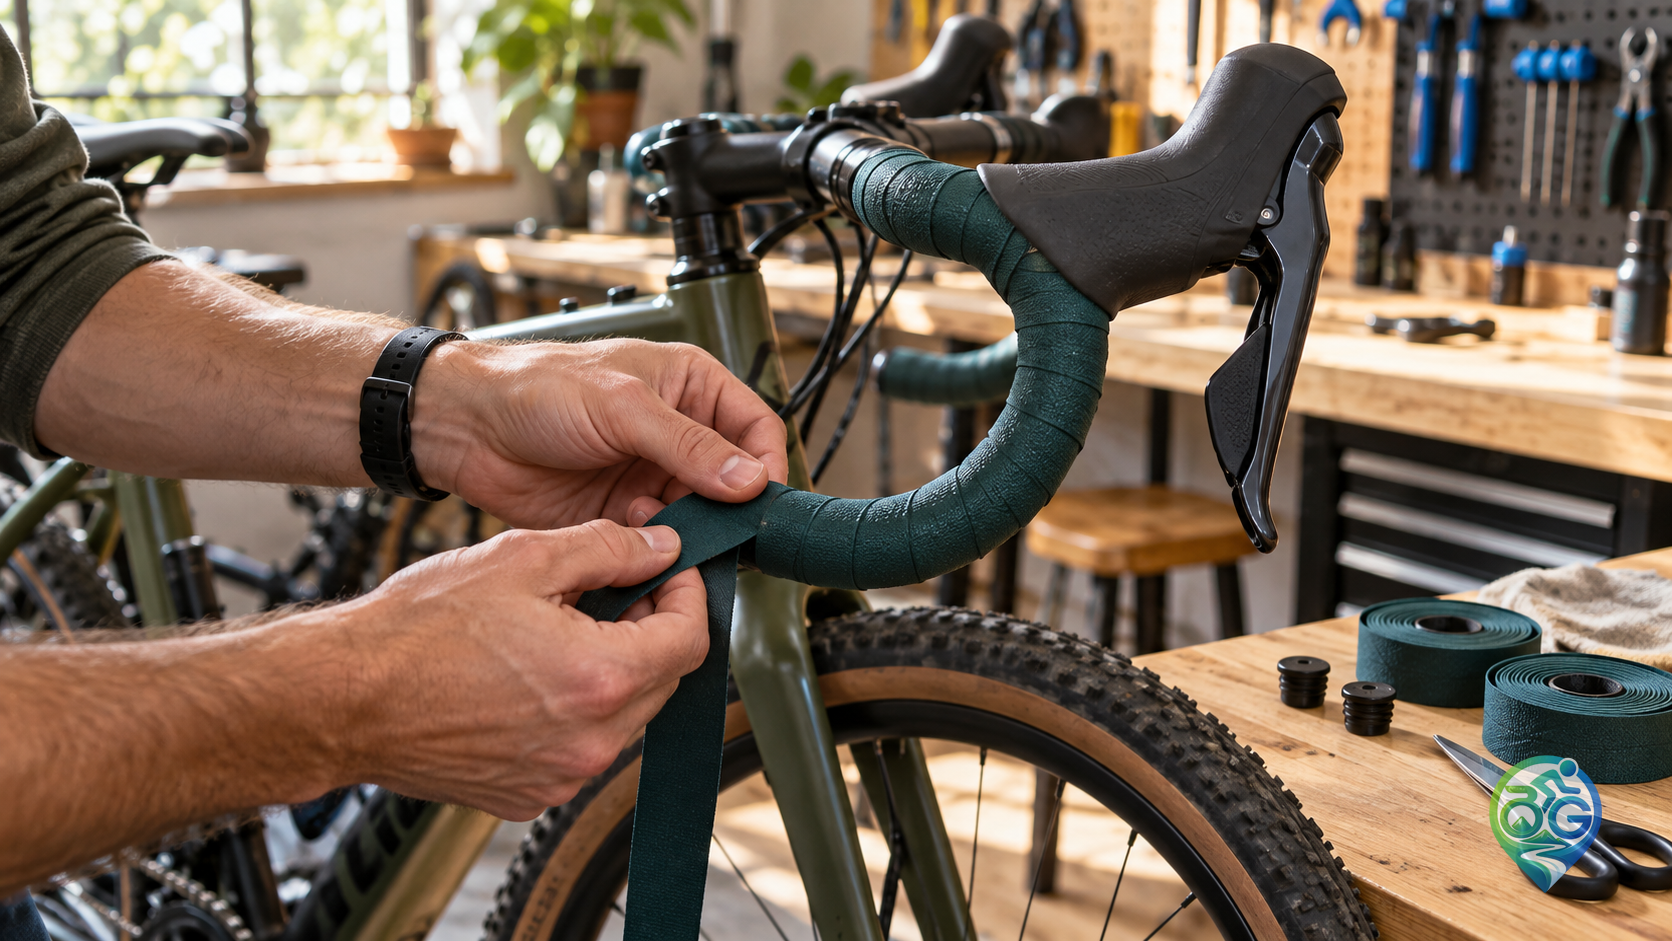
Replacing drop-bar tape is a useful workshop job when the old wrap is peeling, torn or rotating under your hands. A fresh roll can improve the feel of a road or gravel cockpit, but the job begins before the first turn of tape: the bare bar and the routing underneath need attention too. This guide covers conventional drop handlebars rather than flat-bar grips. Give yourself an uncluttered work area, keep the bicycle steady and check the instructions supplied with your particular tape and bar-end plugs. A patient first attempt is usually easier to correct than a hurried one.
Lay out the kit before removing the old wrap
You will need two rolls of tape, compatible end plugs, finishing tape, scissors and a clean cloth. Keep any short strips included in the packet; depending on the method, they may help cover the area behind the brake lever. Support the bike so the bars do not swing while you work. If this is your first rewrap, photograph the cockpit from a few angles before stripping it. Those pictures can remind you where the housing ran and where the old tape ended, although they should not be treated as proof that the previous installation was correct.
Use the bare bar as an inspection opportunity
Remove the finishing strip and unwind the tape carefully. Roll back the rubber hood as appropriate for the lever rather than forcing it. Remove old adhesive lumps without dragging the cable housing out of position. If you uncover a crack, substantial corrosion or a dent, pause the tape job and have the component inspected. Fresh tape should not hide a suspect bar. You do not need to loosen the stem or lever clamp for an ordinary rewrap; changes to lever position or routing require their own checks and manufacturer instructions.
Keep the surface dry and your hands clean. If chain servicing is on the same maintenance list, finish that messier job first, then clean the workspace before opening the new tape. Our chain cleaning and lubrication guide helps separate those stages. Use only cleaning products suitable for the handlebar and tape, rather than experimenting with a strong solvent. Confirm that the housing still sits where it should and that the controls operate before wrapping over it.
Work through the wrap in small sections
Park Tool starts the conventional wrap at the bar end and works towards the centre. Its lower-drop directions are clockwise on the right and counter-clockwise on the left when viewed from behind the bicycle; the lever transition can reverse the direction on the tops. Use the illustrated procedure to keep that viewpoint clear. Maintain controlled tension and overlap without leaving exposed gaps on the curves. Different tapes stretch differently, so the product's own guidance matters more than applying the same pulling force to every roll.
Check the lever area before carrying on
The hood can hide a gap while you are working, so return it to its normal position and inspect the coverage before committing to the upper section. If an opening remains, unwind to the problem and correct it rather than stacking a random patch over the finished wrap. Excess layers can make the lever area bulky. Compare the two sides for a similar grip diameter and a clean transition, and make sure no part of the wrap interferes with a lever or auxiliary control. Take a moment to hold the bar in your normal riding positions.
Finish cleanly and secure the bar ends
Choose matching finish points on the two sides. Lift the tape clear of the bar before cutting it with scissors; avoid pressing a blade against the handlebar, especially a carbon one. Secure the end neatly with the finishing strip. Install each plug according to its design and verify that it cannot simply fall out. Expanding plugs may have a specified tightening procedure, so do not substitute an improvised torque. With the bicycle stationary, grip the drops, hoods and tops and check that the tape does not rotate beneath your hands.
Trek's guide describes how tape texture and thickness alter the feel of the cockpit. Evaluate your choice with the gloves you actually ride in rather than assuming thicker is always better. A short familiar loop is a useful first outing after a rewrap; our route planning guide can help you choose a convenient test ride close to home. If you are preparing for a loaded trip, use the bikepacking starter guide to think through cockpit access with bags fitted. Inspect the wrap again afterwards. Any new gap, loose end or rotation needs correcting before a longer ride.
References: Park Tool drop-bar tape installation; Trek handlebar wrapping and tape textures.
Discussion & Comments 0
Share your thoughts, gear experiences or ask questions about this guide.
No comments yet.
Be the first to share your thoughts!
Join the Discussion
Log in with your Bisikletli Gezgin mobile account to participate in discussions and track your contributions.