A brand new bicycle chain straight out of the packaging arrives with generous excess links (typically between 114 and 126 links) to accommodate nearly every bicycle frame geometry. Installing an unshortened chain straight out of the box creates loose shifting, causes severe chain slap against the chainstay, and leads to chain sag in smaller sprockets. Conversely, cutting a chain too short risks ripping the rear derailleur clean off the hanger when shifting into the largest cassette cog under load. Correct chain sizing is crucial for drivetrain durability and crisp gear shifting.
The Largest Cog and Largest Chainring Method
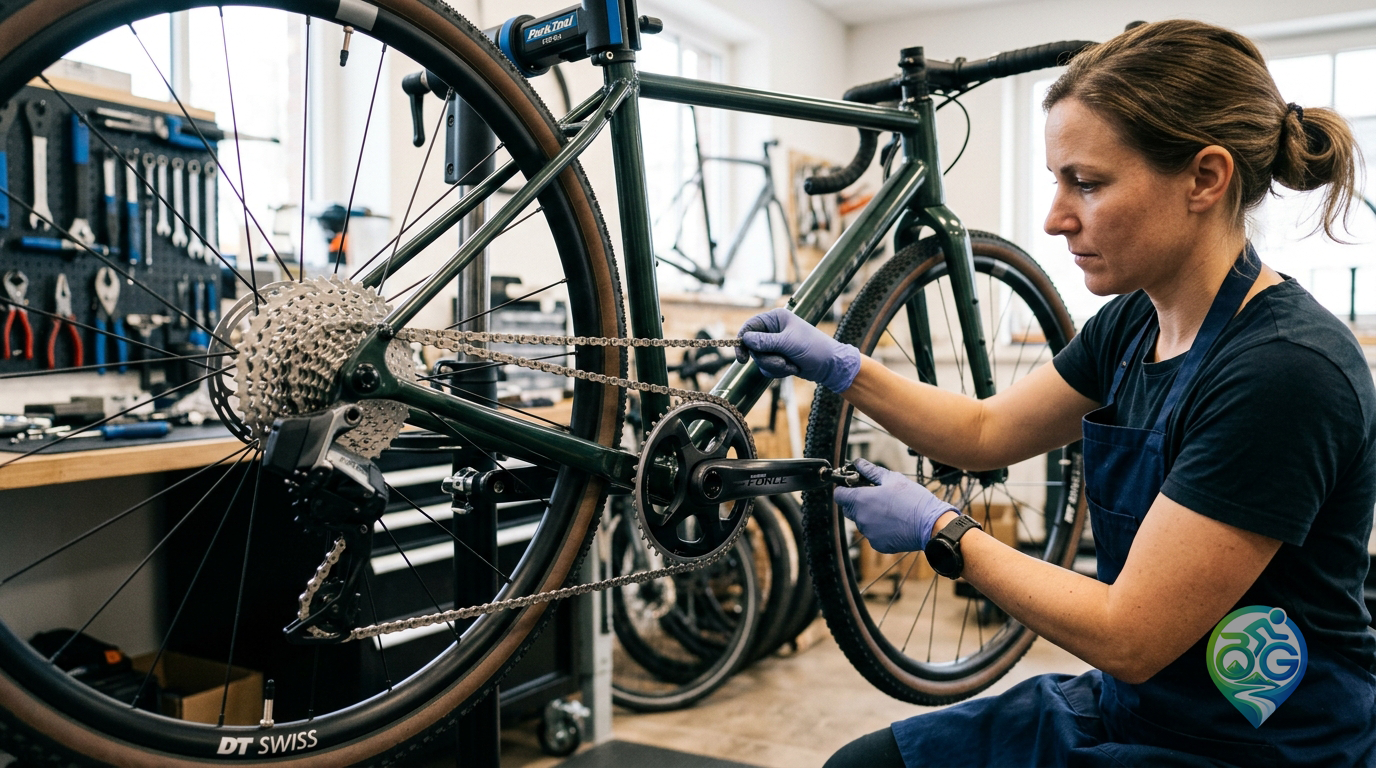
For modern 1x, 2x, and 3x drivetrains, the largest-to-largest method is the industry standard for determining chain length. In this procedure, do not thread the chain through the rear derailleur pulleys yet. Instead, wrap the new chain directly around the largest front chainring and the largest rear cassette cog, pulling both ends together until snug.
Find the exact zero-slack point where the ends first overlap. For hardtail road, gravel, and commuter bikes, add two full links (one inner link and one outer link, equaling roughly one inch or 25.4 mm) beyond this snug intersection. If your chain utilizes a master quick-link, remember that the link itself acts as an outer link; size your chain so that it terminates with two inner link ends before driving the chain breaker pin out. For full-suspension mountain bikes, compress the rear shock fully to account for chain growth as the suspension cycles through its travel, often requiring four extra links instead of two.
Pulleys Alignment and Drivetrain Verification
Once sized and trimmed with a chain tool, route the chain properly through the rear derailleur cage pulleys and secure the master link with quick-link pliers. Shift the drivetrain into the large chainring and smallest rear cog to verify cage tension. In this combination, the upper guide pulley and lower tension pulley should align in a vertical line perpendicular to the ground.
If you are replacing a worn chain that was slipping or skipping, consult our guide on when to replace a bicycle chain to evaluate cassette wear. Fine-tune your limit screws and B-tension adjustment according to our bicycle gear adjustment guide. Finally, wipe down factory packaging grease and apply a dedicated cycling lubricant as detailed in our guide to clean and lubricate a bicycle chain before setting out on your ride.