
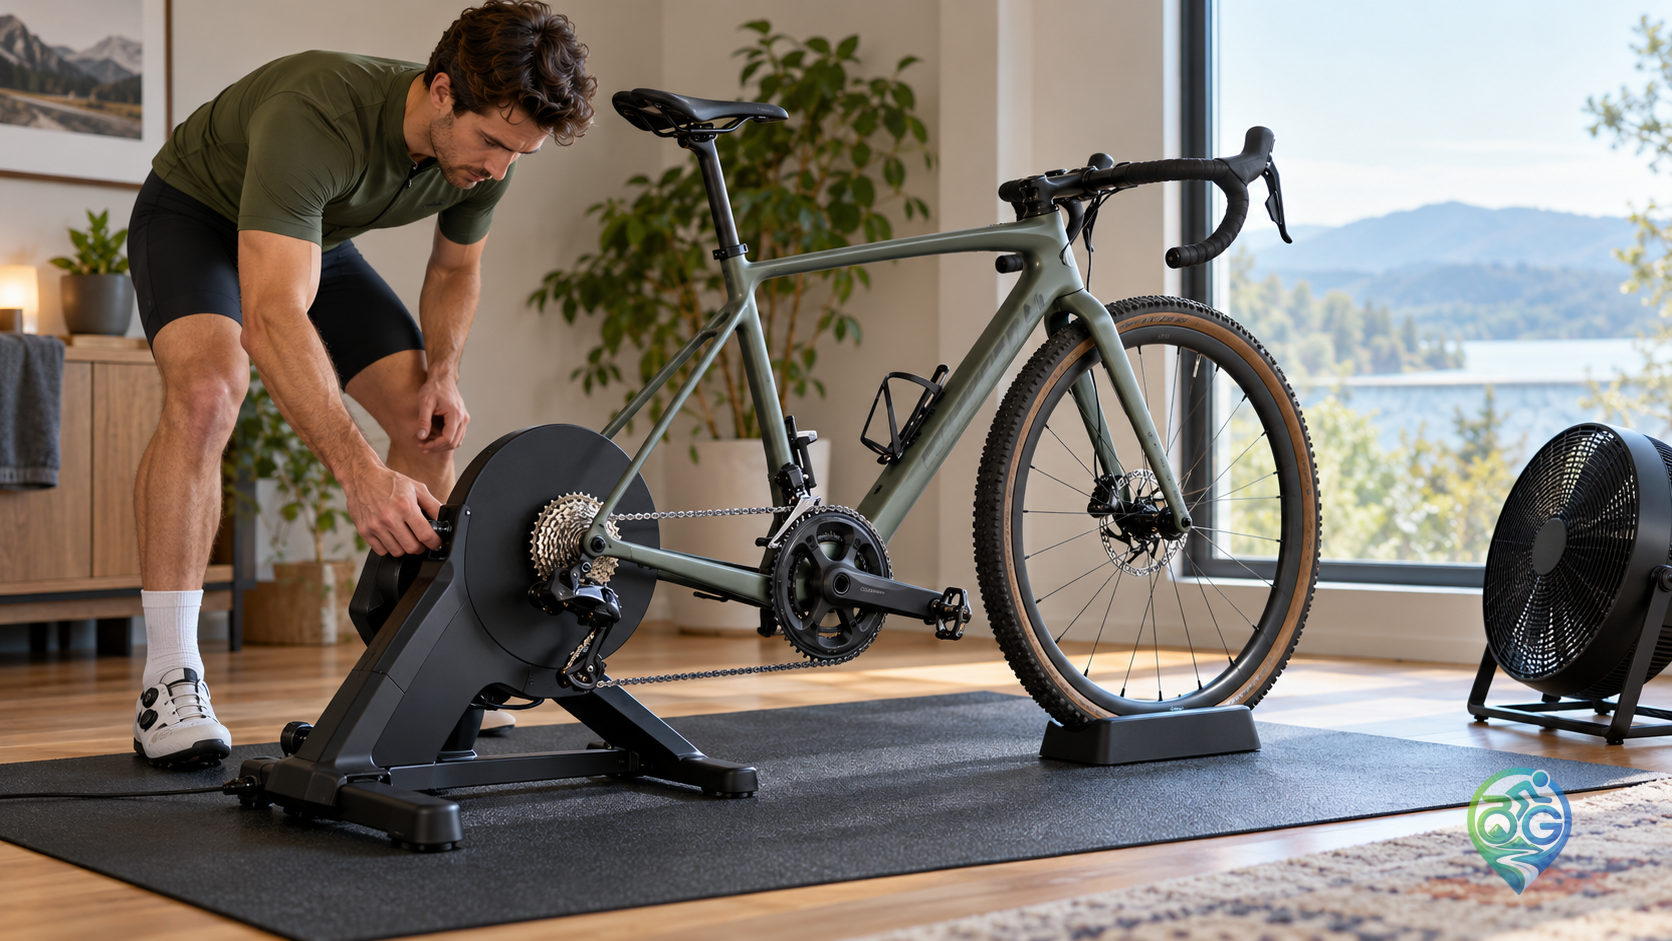
Before opening a training app, check that your bicycle and smart trainer are mechanically compatible. The trainer design determines whether the rear wheel stays on, which axle adapter you need, whether a cassette must be fitted, and how calibration works. A poor setup can lead to shifting problems, inconsistent speed or power readings, or a bicycle that is not safely secured. This guide walks through the shared checks for wheel-on and direct-drive trainers, then points out where the model’s own manual must take over.
Identify the trainer and check fit
A wheel-on trainer presses a roller against the rear tyre. A direct-drive unit replaces the rear wheel, with the chain running over the trainer’s cassette. Check the trainer maker’s compatibility guide for your rear axle standard, frame clearance, cassette body and drivetrain speeds. Thru-axle bikes do not all use the same adapter. Garmin’s Tacx setup information, for example, lists axle-specific hardware and warns that the frame must not touch the trainer housing. Never force an axle into place or ride with a frame that contacts the unit.
Mount the bike on a stable surface
Place the trainer on a level, non-slip surface that can support the bike and rider. Use the supplied skewer or the correct thru-axle adapter, then confirm that both sides engage as the manual shows. The bike should sit upright without the frame touching the trainer; if a front wheel block is required, make sure the tyre is fully supported. For direct drive, shift to a small rear sprocket before removing the wheel, guide the chain onto the trainer cassette and follow the bicycle maker’s axle procedure. Check cassette-body, spacer and lockring compatibility in the trainer documentation instead of guessing at a torque value.
Set up a wheel-on tyre and roller
Inspect the rear tyre before every indoor season. Knobby or contaminated tyres can create extra noise and vibration on a roller; use a smooth or dedicated trainer tyre when the manufacturer recommends one. Inflate the tyre within its own marked limits and for the intended use. Roller pressure is specific to the trainer. Wahoo’s KICKR SNAP guide, for instance, gives a particular knob adjustment after the roller contacts the tyre; that instruction is not a universal setting for other trainers. If the tyre slips, overheats or makes unusual noise, stop and recheck pressure and roller contact using your model’s manual.
Pair the app and calibrate as instructed
Connect the trainer through the maker’s app, install any applicable firmware update and avoid leaving several training apps connected to the same trainer at once. Calibration varies by model. Wahoo recommends a warm-up and spindown for the KICKR SNAP; some direct-drive trainers use a different procedure or do not require the same spindown routine. Follow the current on-screen steps for your exact unit rather than copying another model’s settings. Confirm that the app has selected the intended speed, cadence and power source. A trainer’s power reading and an on-bike power meter may differ; do not assume they will match exactly.
Do a low-resistance safety check
Before starting a hard session, check that both axle ends are secure, the chain sits correctly on the cassette, the cranks clear the frame and trainer, and the bicycle does not rock under a gentle push. Position a fan and towel well away from wheels, the drivetrain and electrical connections. Start with easy pedalling and listen for movement, slipping or new contact. For training guidance, see our cadence and effort guide; wheel-on users can check the tyre pressure guide, then protect the drivetrain after a sweaty session with our chain cleaning and lubrication guide.
Technical references: Wahoo KICKR SNAP setup and compatibility; Wahoo SNAP calibration; Garmin Tacx NEO setup and axle compatibility.
Discussion & Comments 0
Share your thoughts, gear experiences or ask questions about this guide.
No comments yet.
Be the first to share your thoughts!
Join the Discussion
Log in with your Bisikletli Gezgin mobile account to participate in discussions and track your contributions.