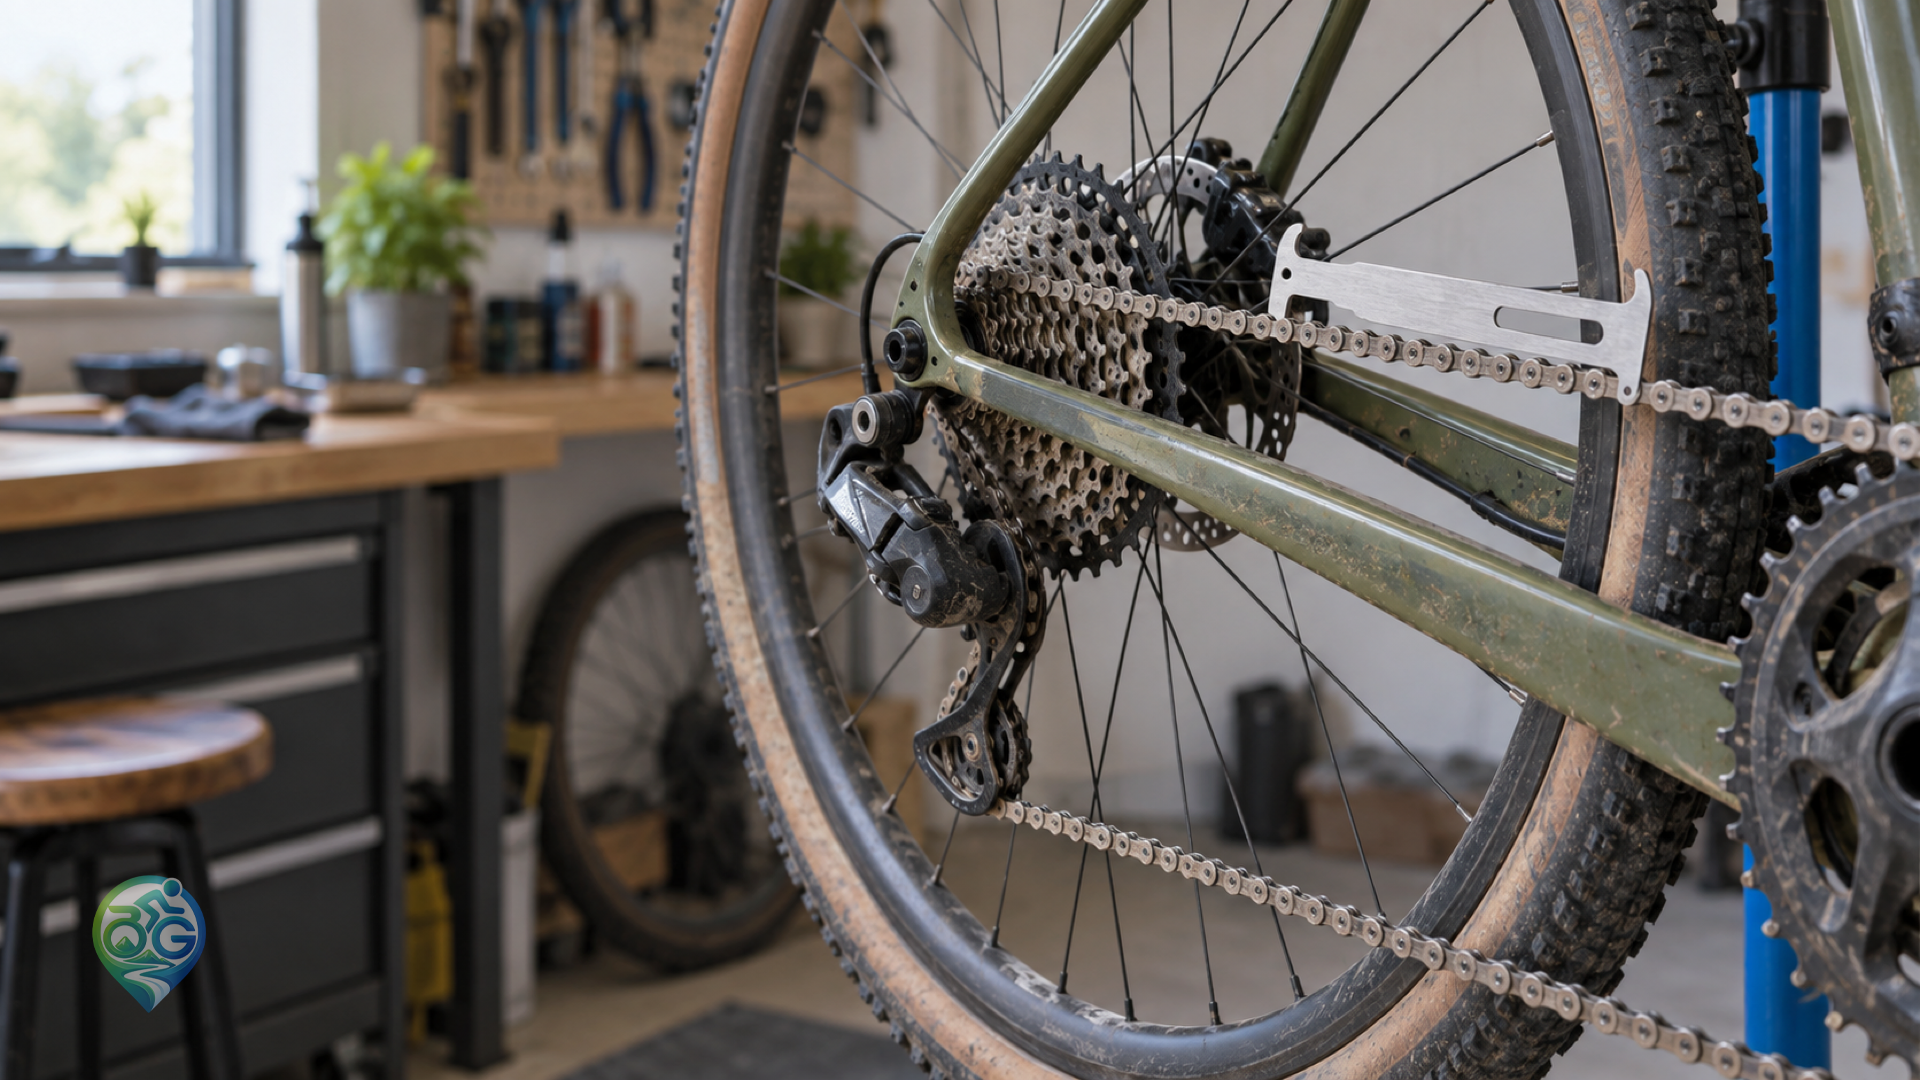
A bicycle chain rarely fails without warning. More often, it wears gradually until shifting becomes rough, the chain skips under pressure or a new chain refuses to mesh with an old cassette. Because the chain, cassette and chainrings share the load, delaying replacement can turn a relatively small maintenance job into an expensive drivetrain repair. The most reliable way to decide when to replace a bicycle chain is to measure it and then confirm the result with how the bike rides.
Signs that a chain is worn
Pay attention when the chain skips while you are pushing hard, shifts slowly despite a clean drivetrain or makes a rough grinding sound on a particular sprocket. Dirt is not proof of wear, and a visibly shiny chain is not automatically worn out. A quick visual check can raise suspicion, but modern narrow chains are difficult to judge by pulling them away from a chainring. Use a proper chain checker for a useful answer.
How to measure chain wear
Place a chain-wear gauge across two suitable links and see whether the measuring end drops fully into the chain. Read the percentage marking on the tool; different gauges and chain standards use different thresholds. Check several points around the chain rather than relying on one link. Cleaning the chain first prevents grit and sticky lubricant from holding the gauge in a misleading position. If the gauge is unclear, compare its instructions with the chain manufacturer’s guidance.
Why riding conditions matter
A road bike may accumulate clean kilometres, while a gravel or bikepacking bike sees dust, water, mud and luggage load. A city bike can suffer from rust, winter salt or long periods without lubrication even when its odometer shows fewer kilometres. There is no universal “replace it every 2,000 kilometres” rule. Use measurement, maintenance history and shifting behaviour together. Our chain cleaning and lubrication guide explains how to prepare the drivetrain before measuring it.
Does a new chain require a new cassette?
Not always, but a heavily worn chain can reshape the cassette and chainrings over time. If a fresh chain skips on only a few sprockets, inspect those teeth rather than immediately blaming the adjustment. Before removing the old chain, record its link count and note the connection method. The replacement must match the drivetrain speed and be sized for the derailleur and chainring combination. Do not reuse a disposable connecting pin or quick link against the manufacturer’s instructions.
Tools and a careful replacement routine
You will usually need a compatible chain, chain tool, chain checker and a matching quick link or connecting pin. Shift to the smallest chainring and smallest rear sprocket to reduce derailleur tension. Compare the new chain with the old one before cutting, but do not rely on a rough visual estimate alone. After joining the chain, turn the cranks by hand and make sure the quick link has fully locked. A stiff link should be fixed before the bike goes back on the road.
Checks after fitting the chain
Run through every gear at low load while the bike is on a stand or with the rear wheel safely lifted. Watch for skipping, a derailleur cage that moves unexpectedly or a tight connecting link. Follow with a short, easy ride and add pedal pressure gradually. If shifting is still poor, the cause may be cable tension, a bent hanger, a worn cassette or a separate adjustment issue. The bicycle gear adjustment guide is a useful next step.
Make the chain last longer
Wipe the chain after wet or dusty rides, apply a lubricant suited to the conditions and remove excess oil from the outside. Lubricant belongs inside the moving interfaces, not as a thick dirt-catching coating on the outer plates. Carrying a spare quick link is sensible on a long ride, and planning remote sections with the cycling route planning guide helps you decide what tools to pack. Regular measurement is inexpensive insurance for the rest of the drivetrain.