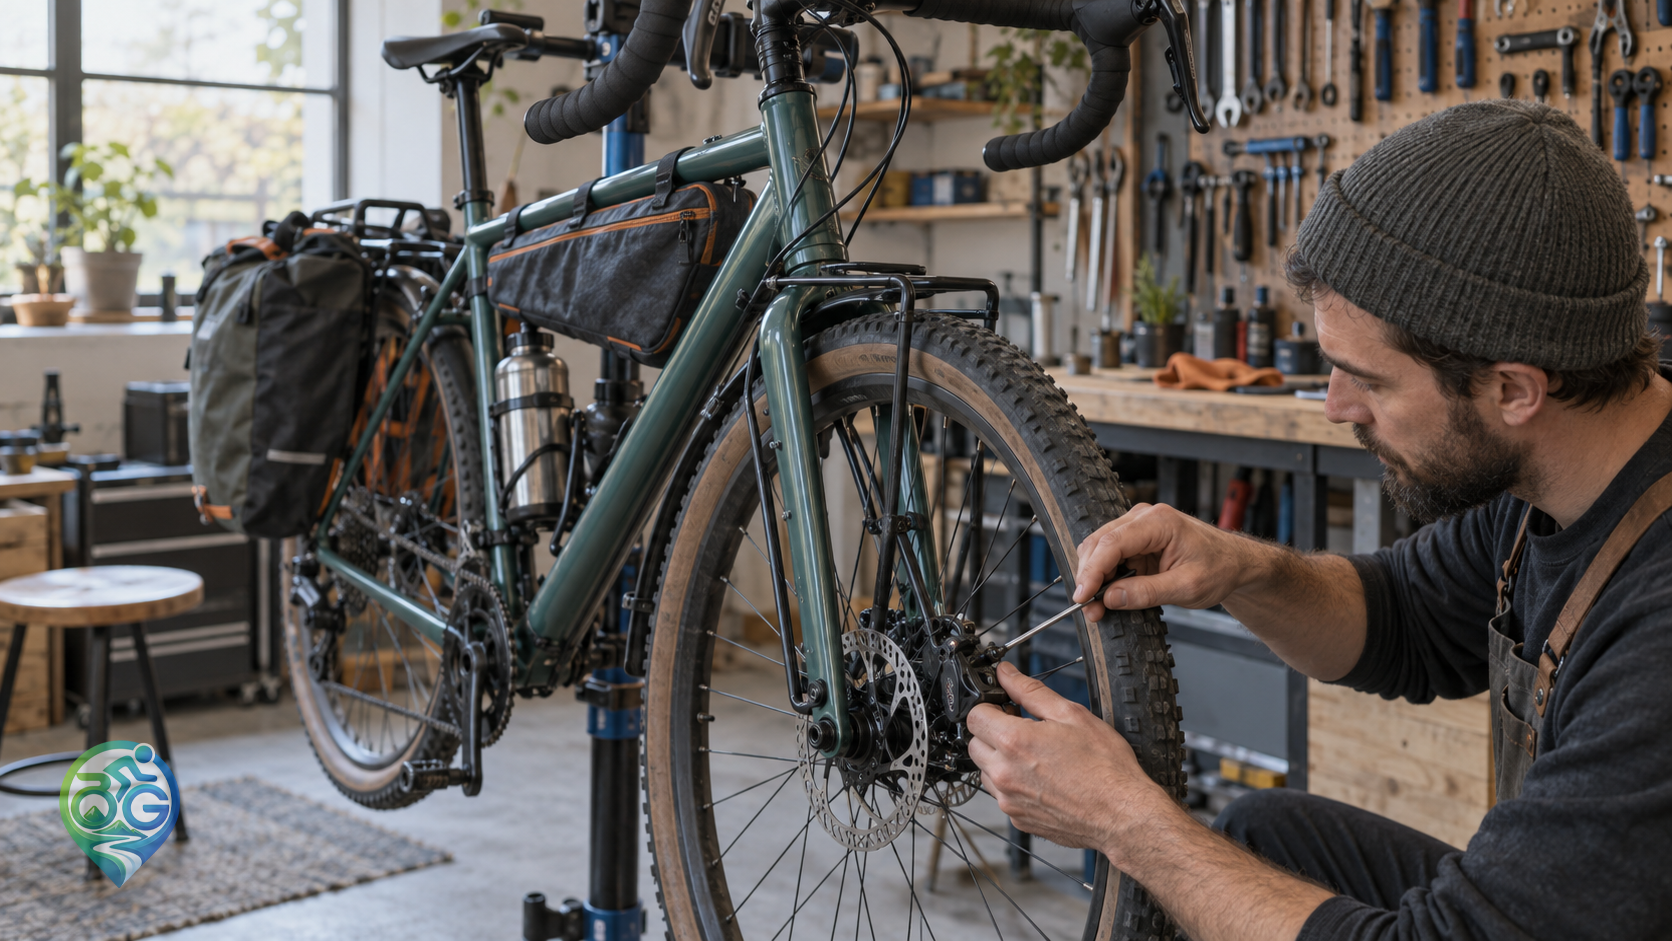
A bicycle pump is easy to ignore until a tyre goes soft. Then a head that does not fit the valve or a gauge you cannot read turns a simple fix into a roadside chore. The best pump for workshop use is not always the best one to carry on a ride. When choosing a bicycle pump, start with your terrain, tyre volume and usual riding distance rather than the biggest number printed on the barrel.
Floor pump or hand pump?
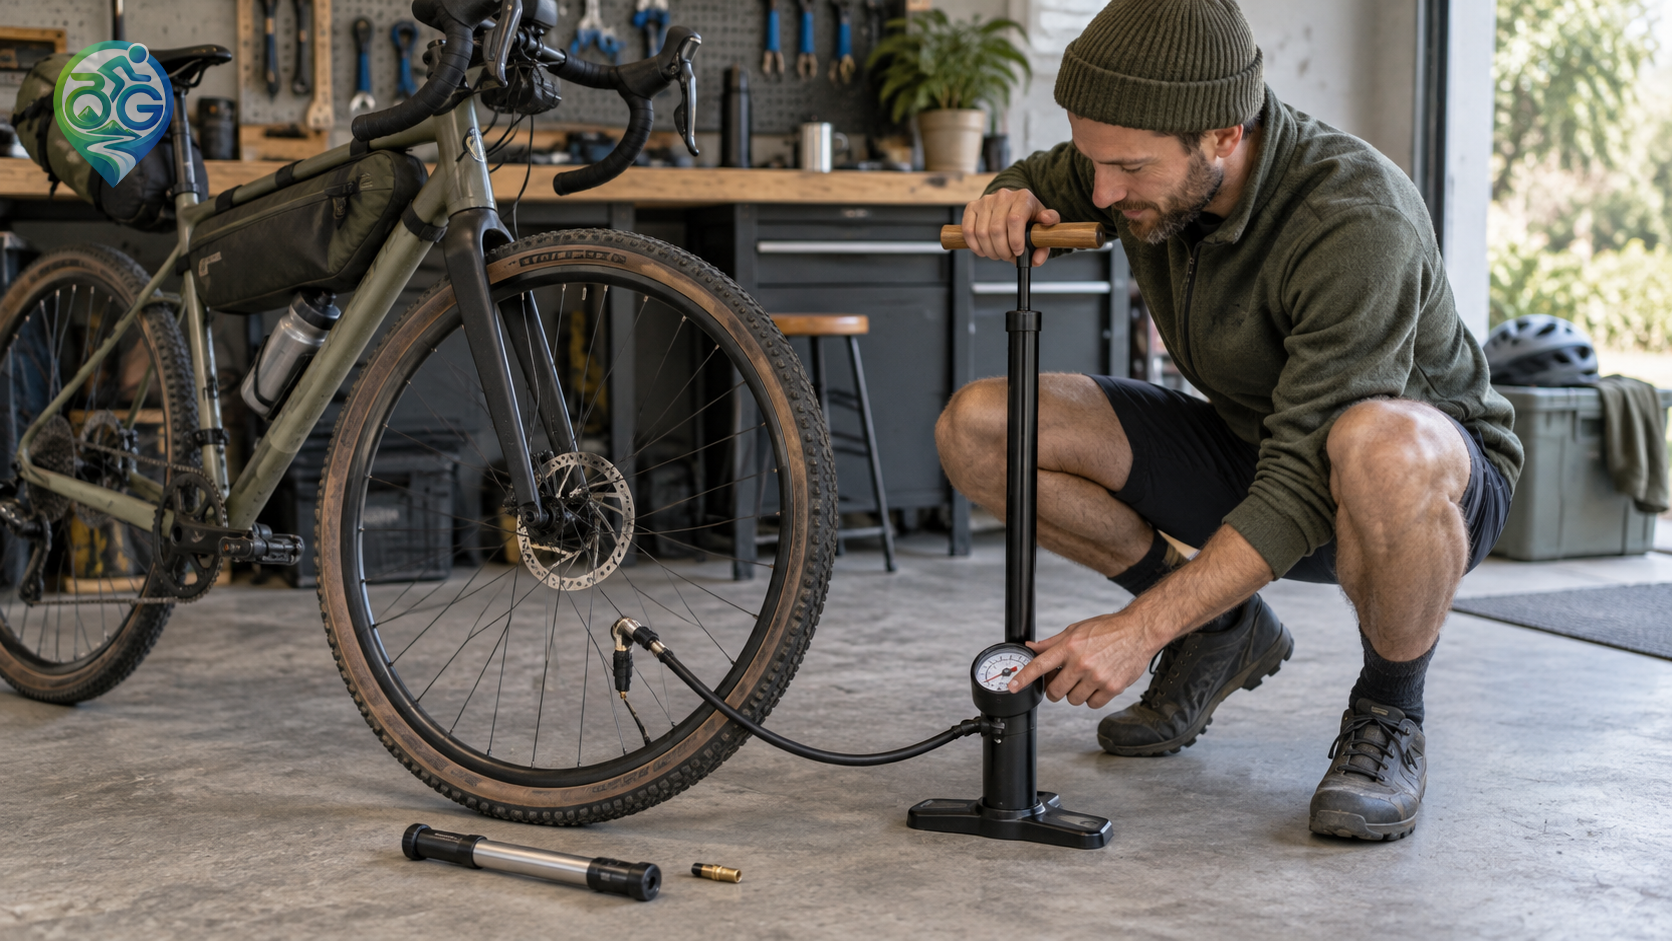
A hand pump is light, portable and a sensible safety net after a puncture. A compact model mounted to the frame or tucked into a saddle bag can get you rolling again without much fuss. A floor pump is faster and easier at home. Its larger chamber moves more air per stroke, and the stable base makes the final pressure adjustment less tiring on narrow road tyres. If you mainly set pressure before a ride, buy a floor pump first; if being self-sufficient away from home matters most, prioritise a reliable mini pump.
Do you need a pressure gauge?
A gauge makes repeatable pressure much easier, especially when a few PSI changes the feel of a narrow tyre. On gravel and high-volume tyres, look for a scale that remains clear at lower pressures. Treat the gauge as a reference, not an absolute truth: combine it with the pressure range printed on the sidewall, your rim width, total rider-and-luggage weight and the surface you will ride. Our tubeless setup and maintenance guide explains how those variables work together.
Check Presta and Schrader compatibility
Road and gravel bikes commonly use the slim Presta valve, while city and mountain bikes may use the wider Schrader type. A dual-head pump is convenient; a single-head model may need an adapter. Before attaching it, make sure the locking lever is open and press the head on straight. A sideways push can bend a Presta stem. If the tyre loses air immediately, inspect the valve core as well: the leak may be in the core, not in the pump.
Maximum pressure is not a target
The maximum pressure printed on a pump is a limit for the tool, not a recommendation for your tyre. A mini pump rated for very high pressure may take a long time to fill a wide gravel or MTB tyre. In that case, a high-volume pump with a lower maximum rating can be the more useful choice. A long, pressure-focused pump makes sense for narrow road tyres. Stay inside the tyre and rim manufacturer limits and resist the idea that harder always means faster.
Mini pumps and CO2 for touring
For a pump you carry, a flexible hose is worth considering. It keeps your hands away from the valve and reduces the chance of bending it or stressing the rim. Check that the frame mount locks securely and does not rattle on rough ground. A CO2 inflator is a quick rescue tool, but it should not be your only plan on a long tour. Match the cartridge size to your tyre volume, practise at home and remember that the cold gas may need a final top-up with a hand pump.
A calm, correct inflation routine
Remove the cap, open the valve and lock the pump head straight onto it. After the first few strokes, check that the tyre is seated evenly around the rim. With rim brakes, make sure the pad is not creeping onto the sidewall; with disc brakes, listen for any unusual rotor rub. Finger pressure is only a rough check. Before a long ride, confirm the number with a gauge. Our tubeless setup and maintenance guide covers why a tubeless tyre that has fully unseated may need a different seating approach.
Match the pump to the ride
A small mini pump and patch kit cover most short city rides. For an all-day gravel or bikepacking route, add a spare tube, valve adapter and a small pressure gauge. Thinking through remote sections with the gear adjustment guide helps you decide what deserves space in the bag. For the rest of your pre-ride check, the chain cleaning and lubrication guide is a useful companion. The best pump is the one you can reach quickly, have tested with your own tyres and will actually carry every time.